Sunday, February 6 2022

2-06-2022 Monoslab Photo and Patio Foundation

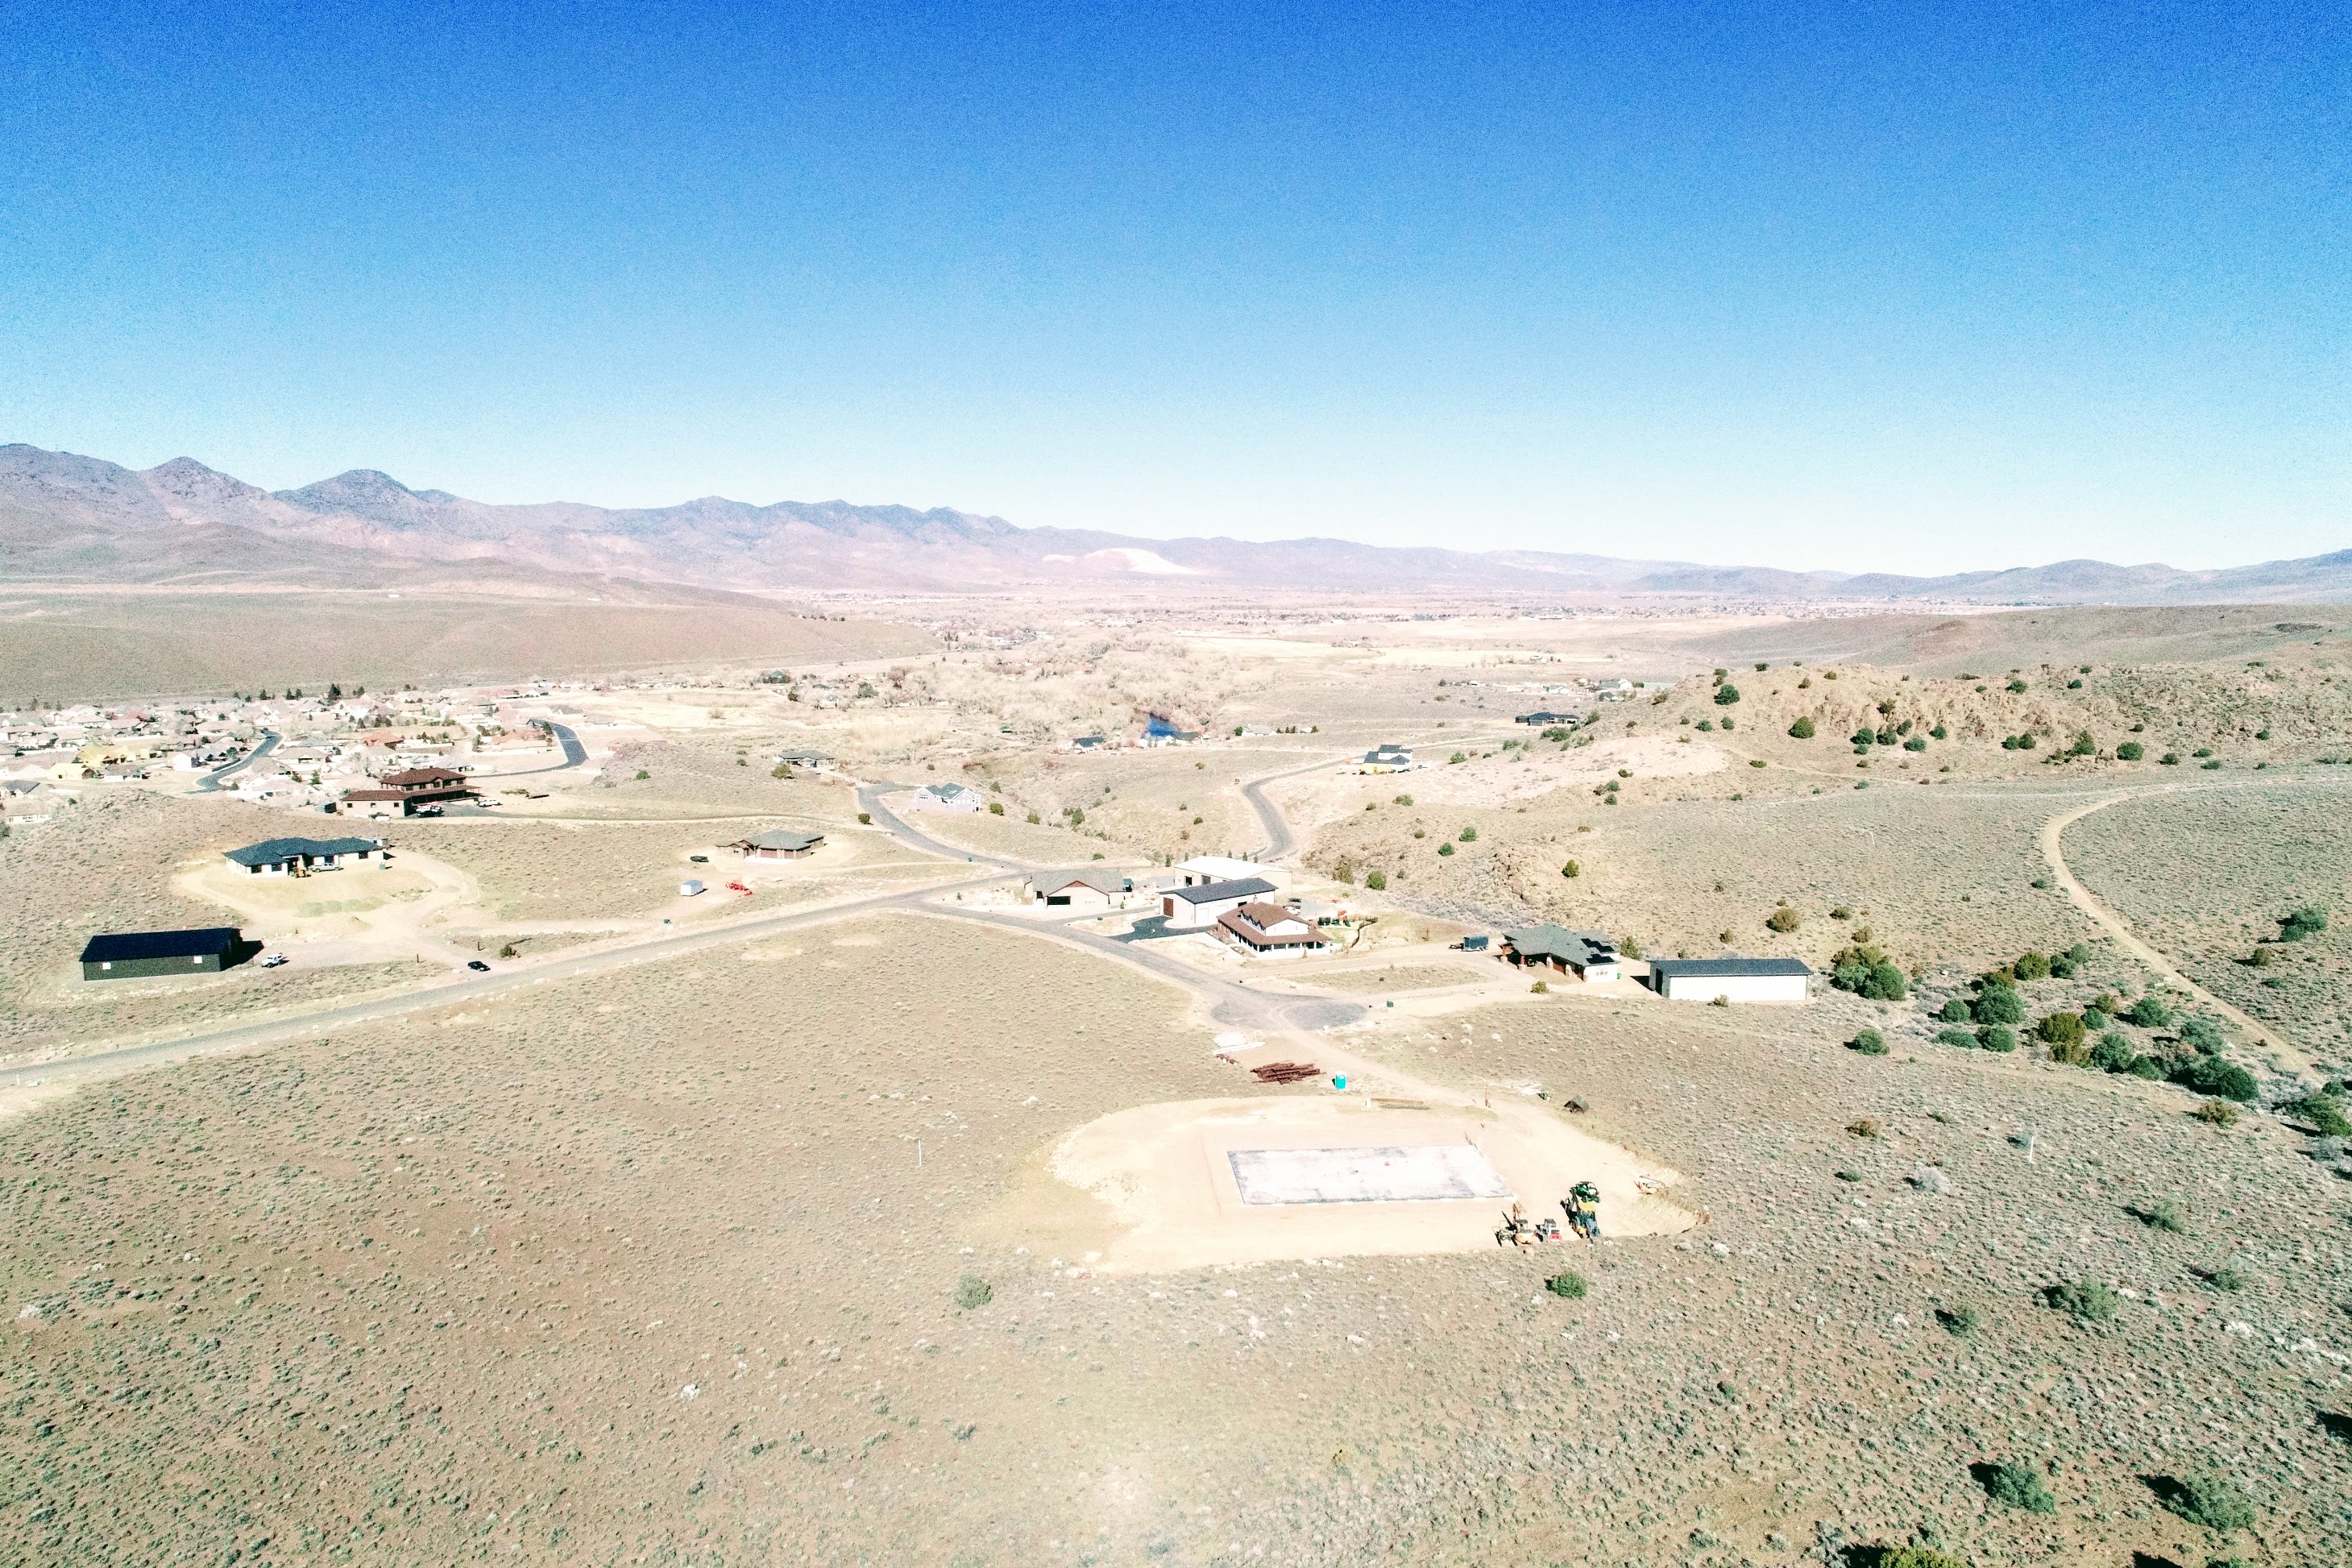
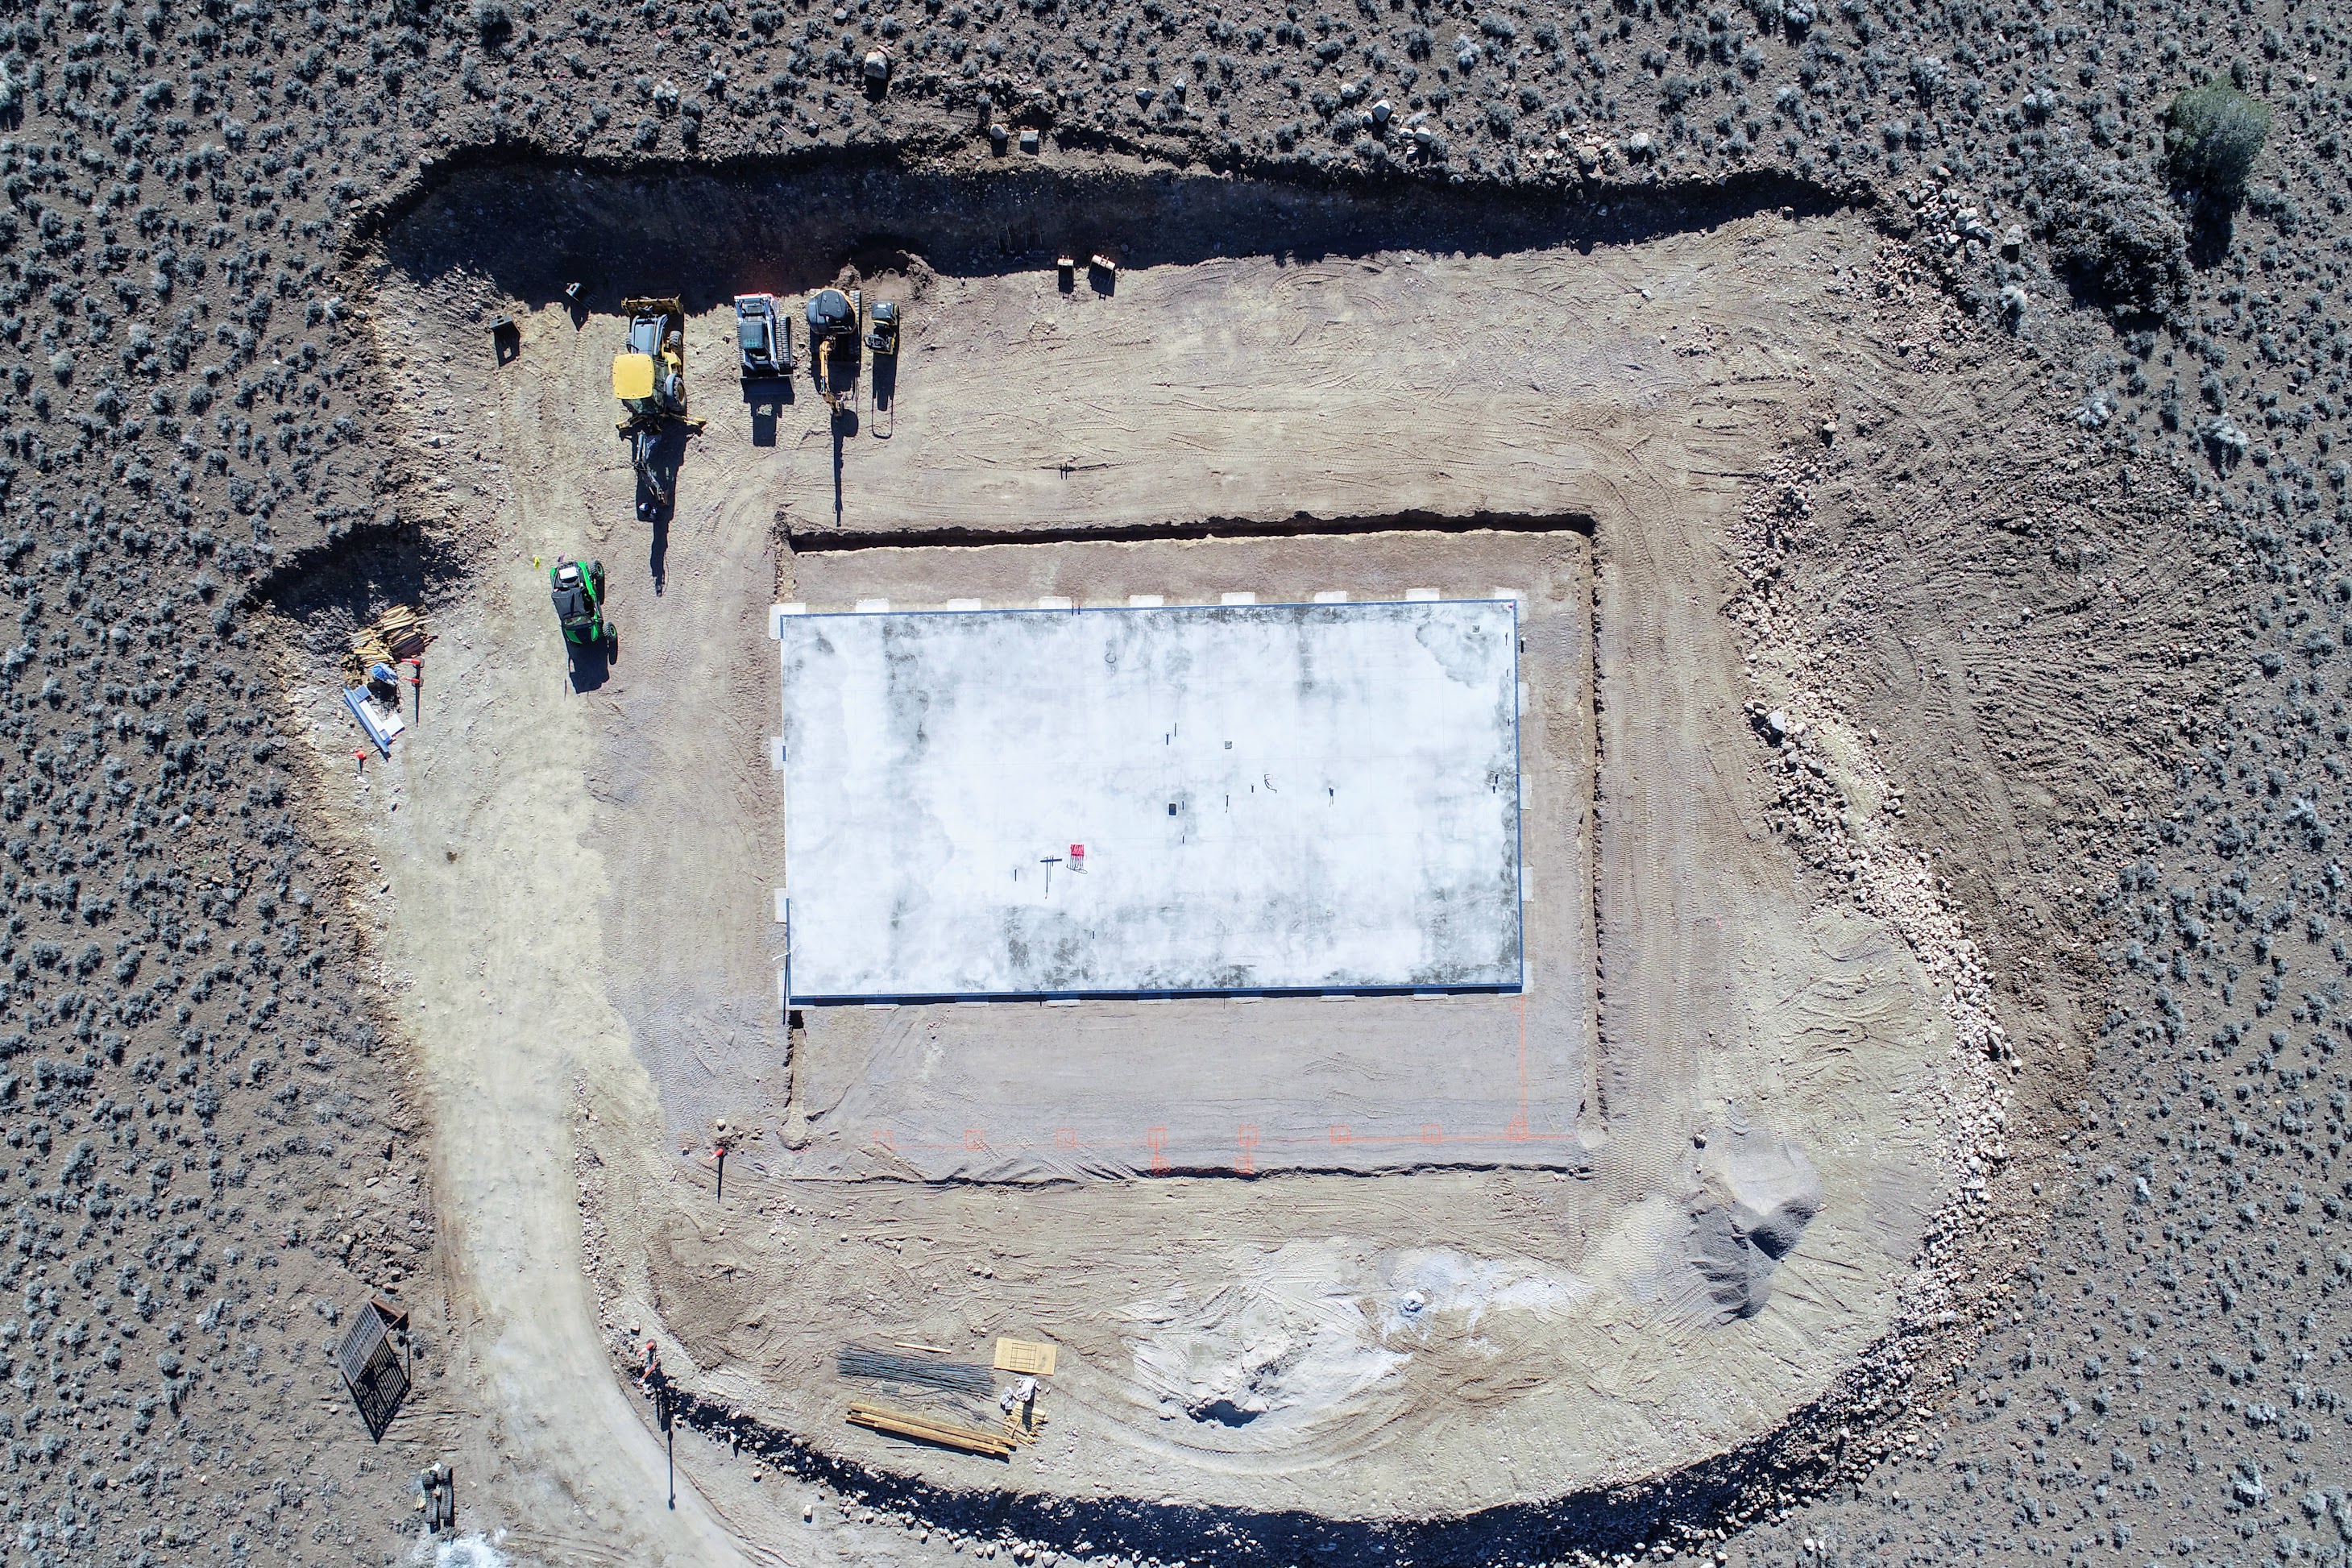
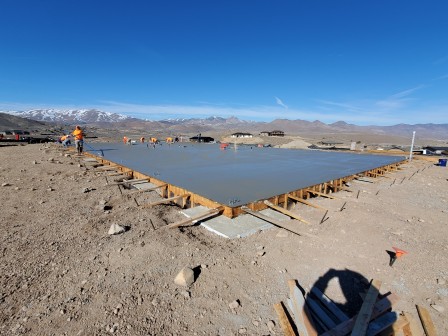
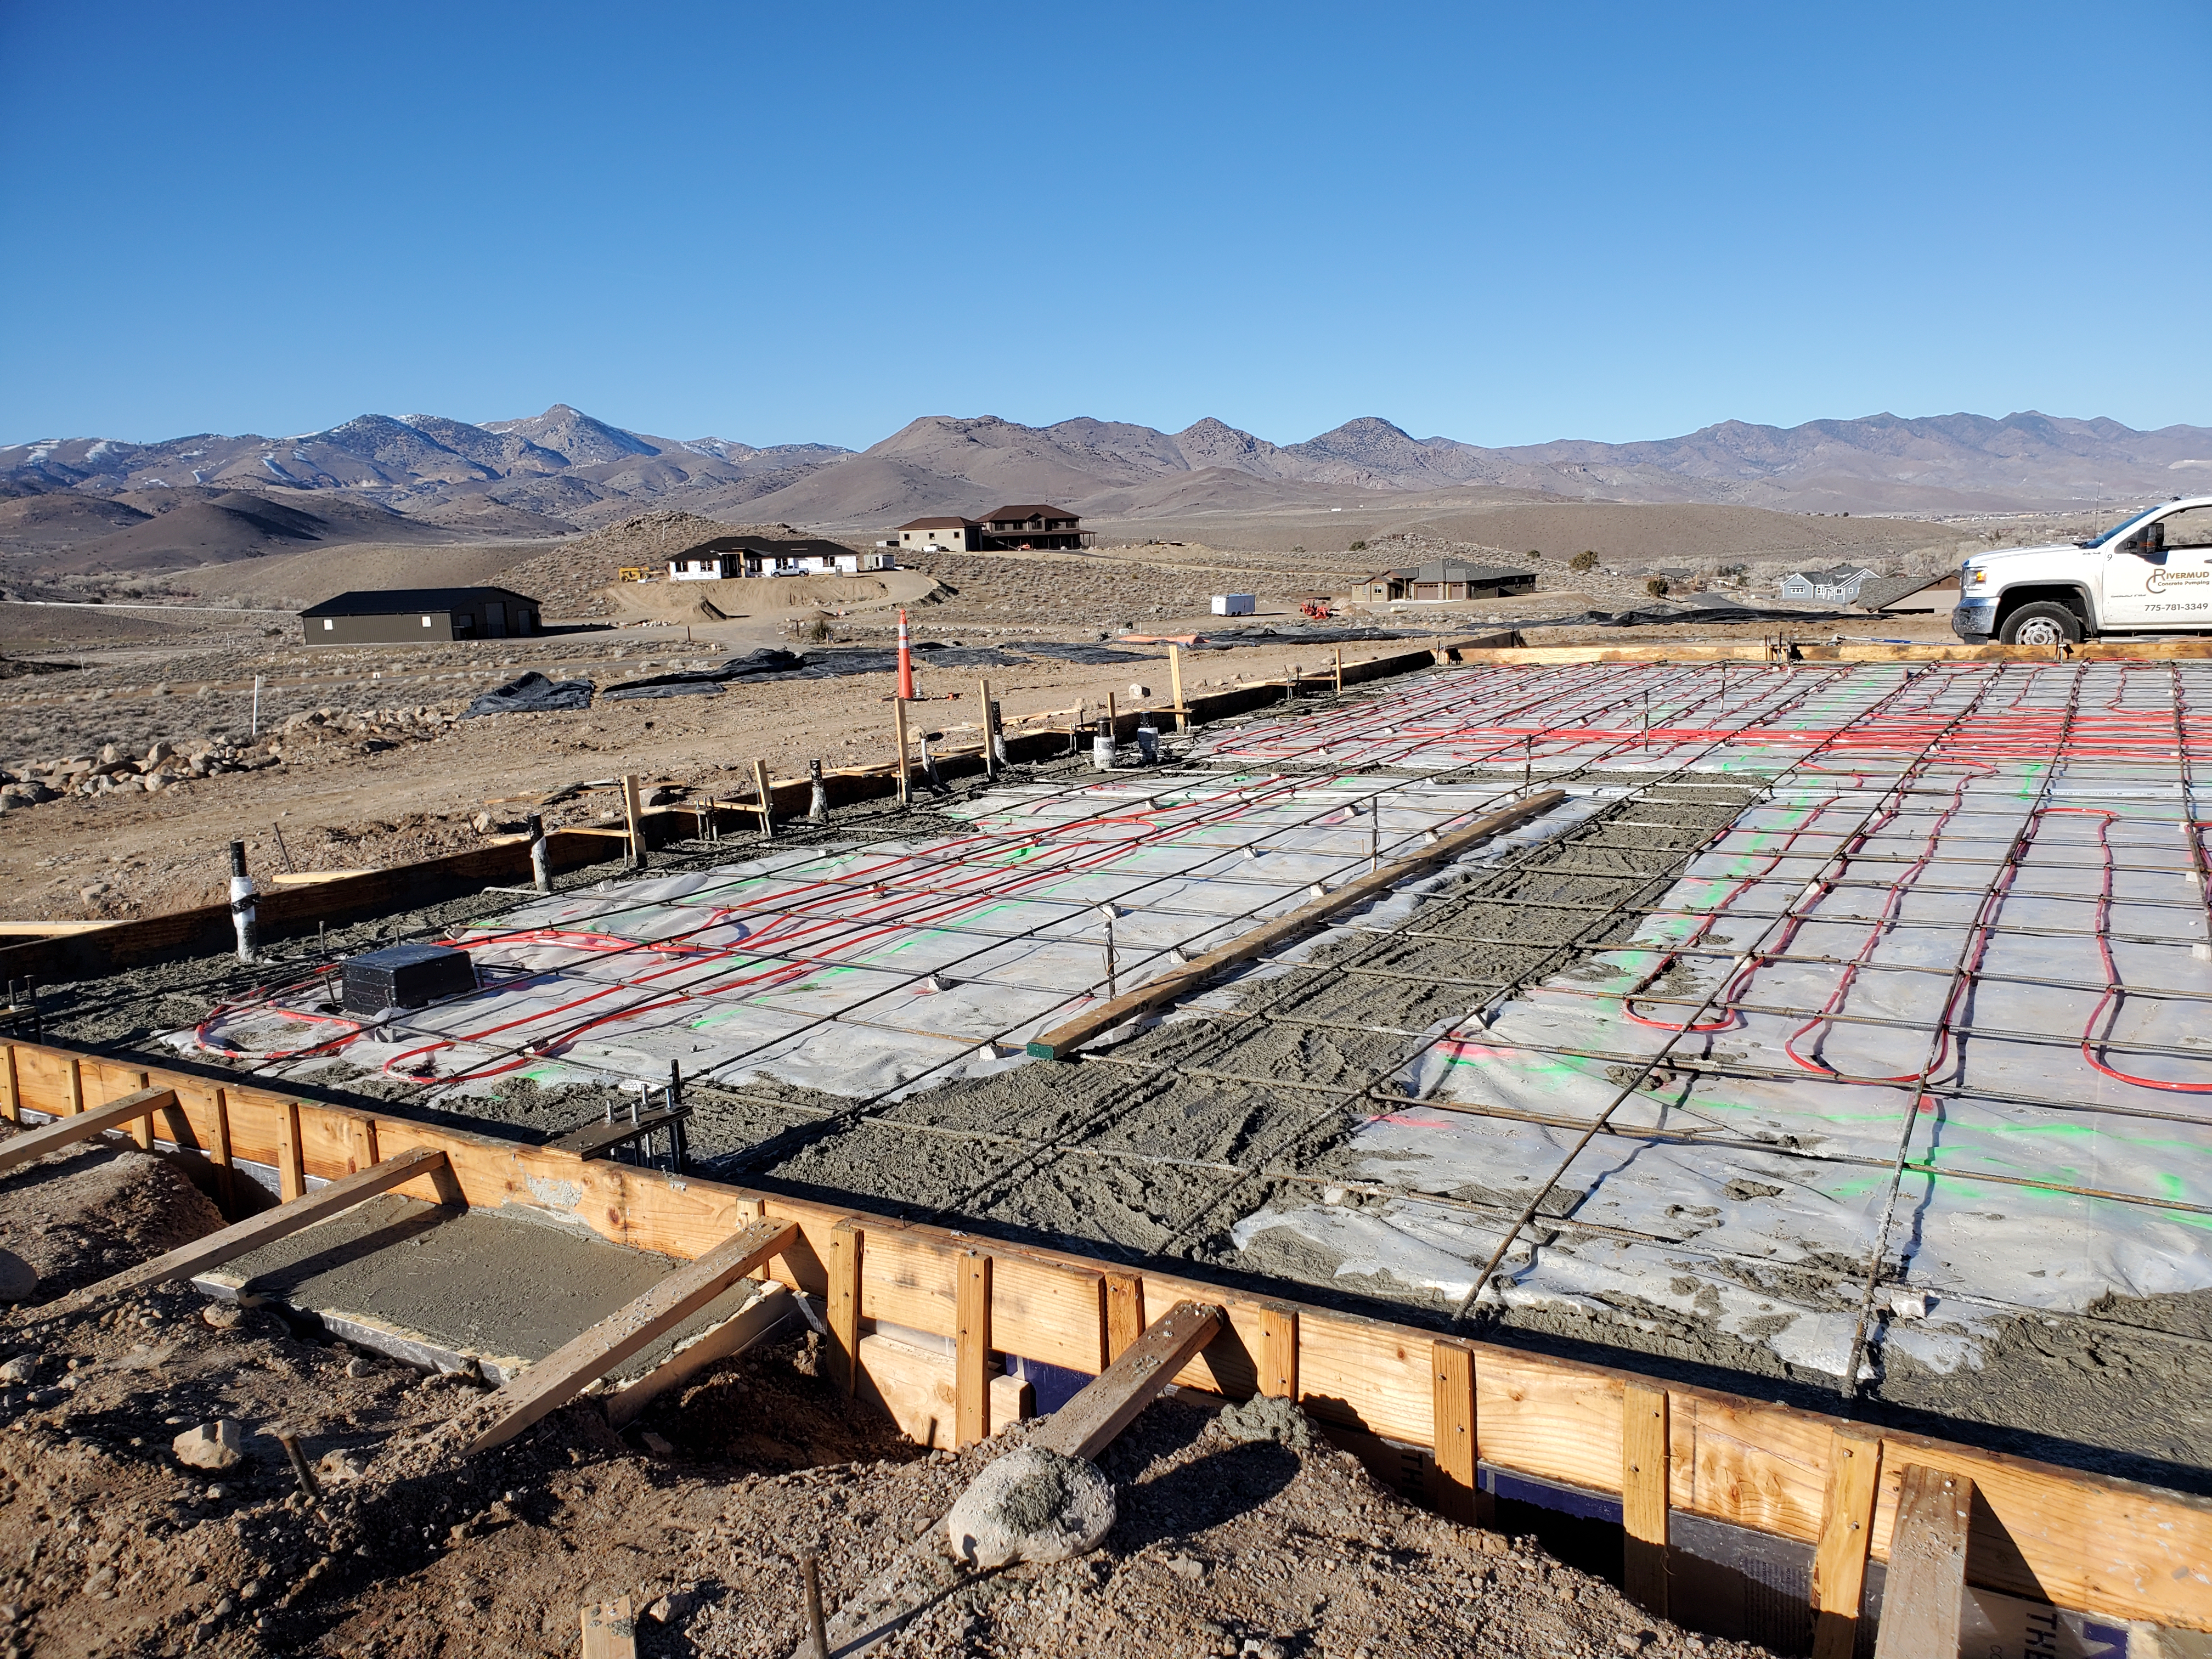
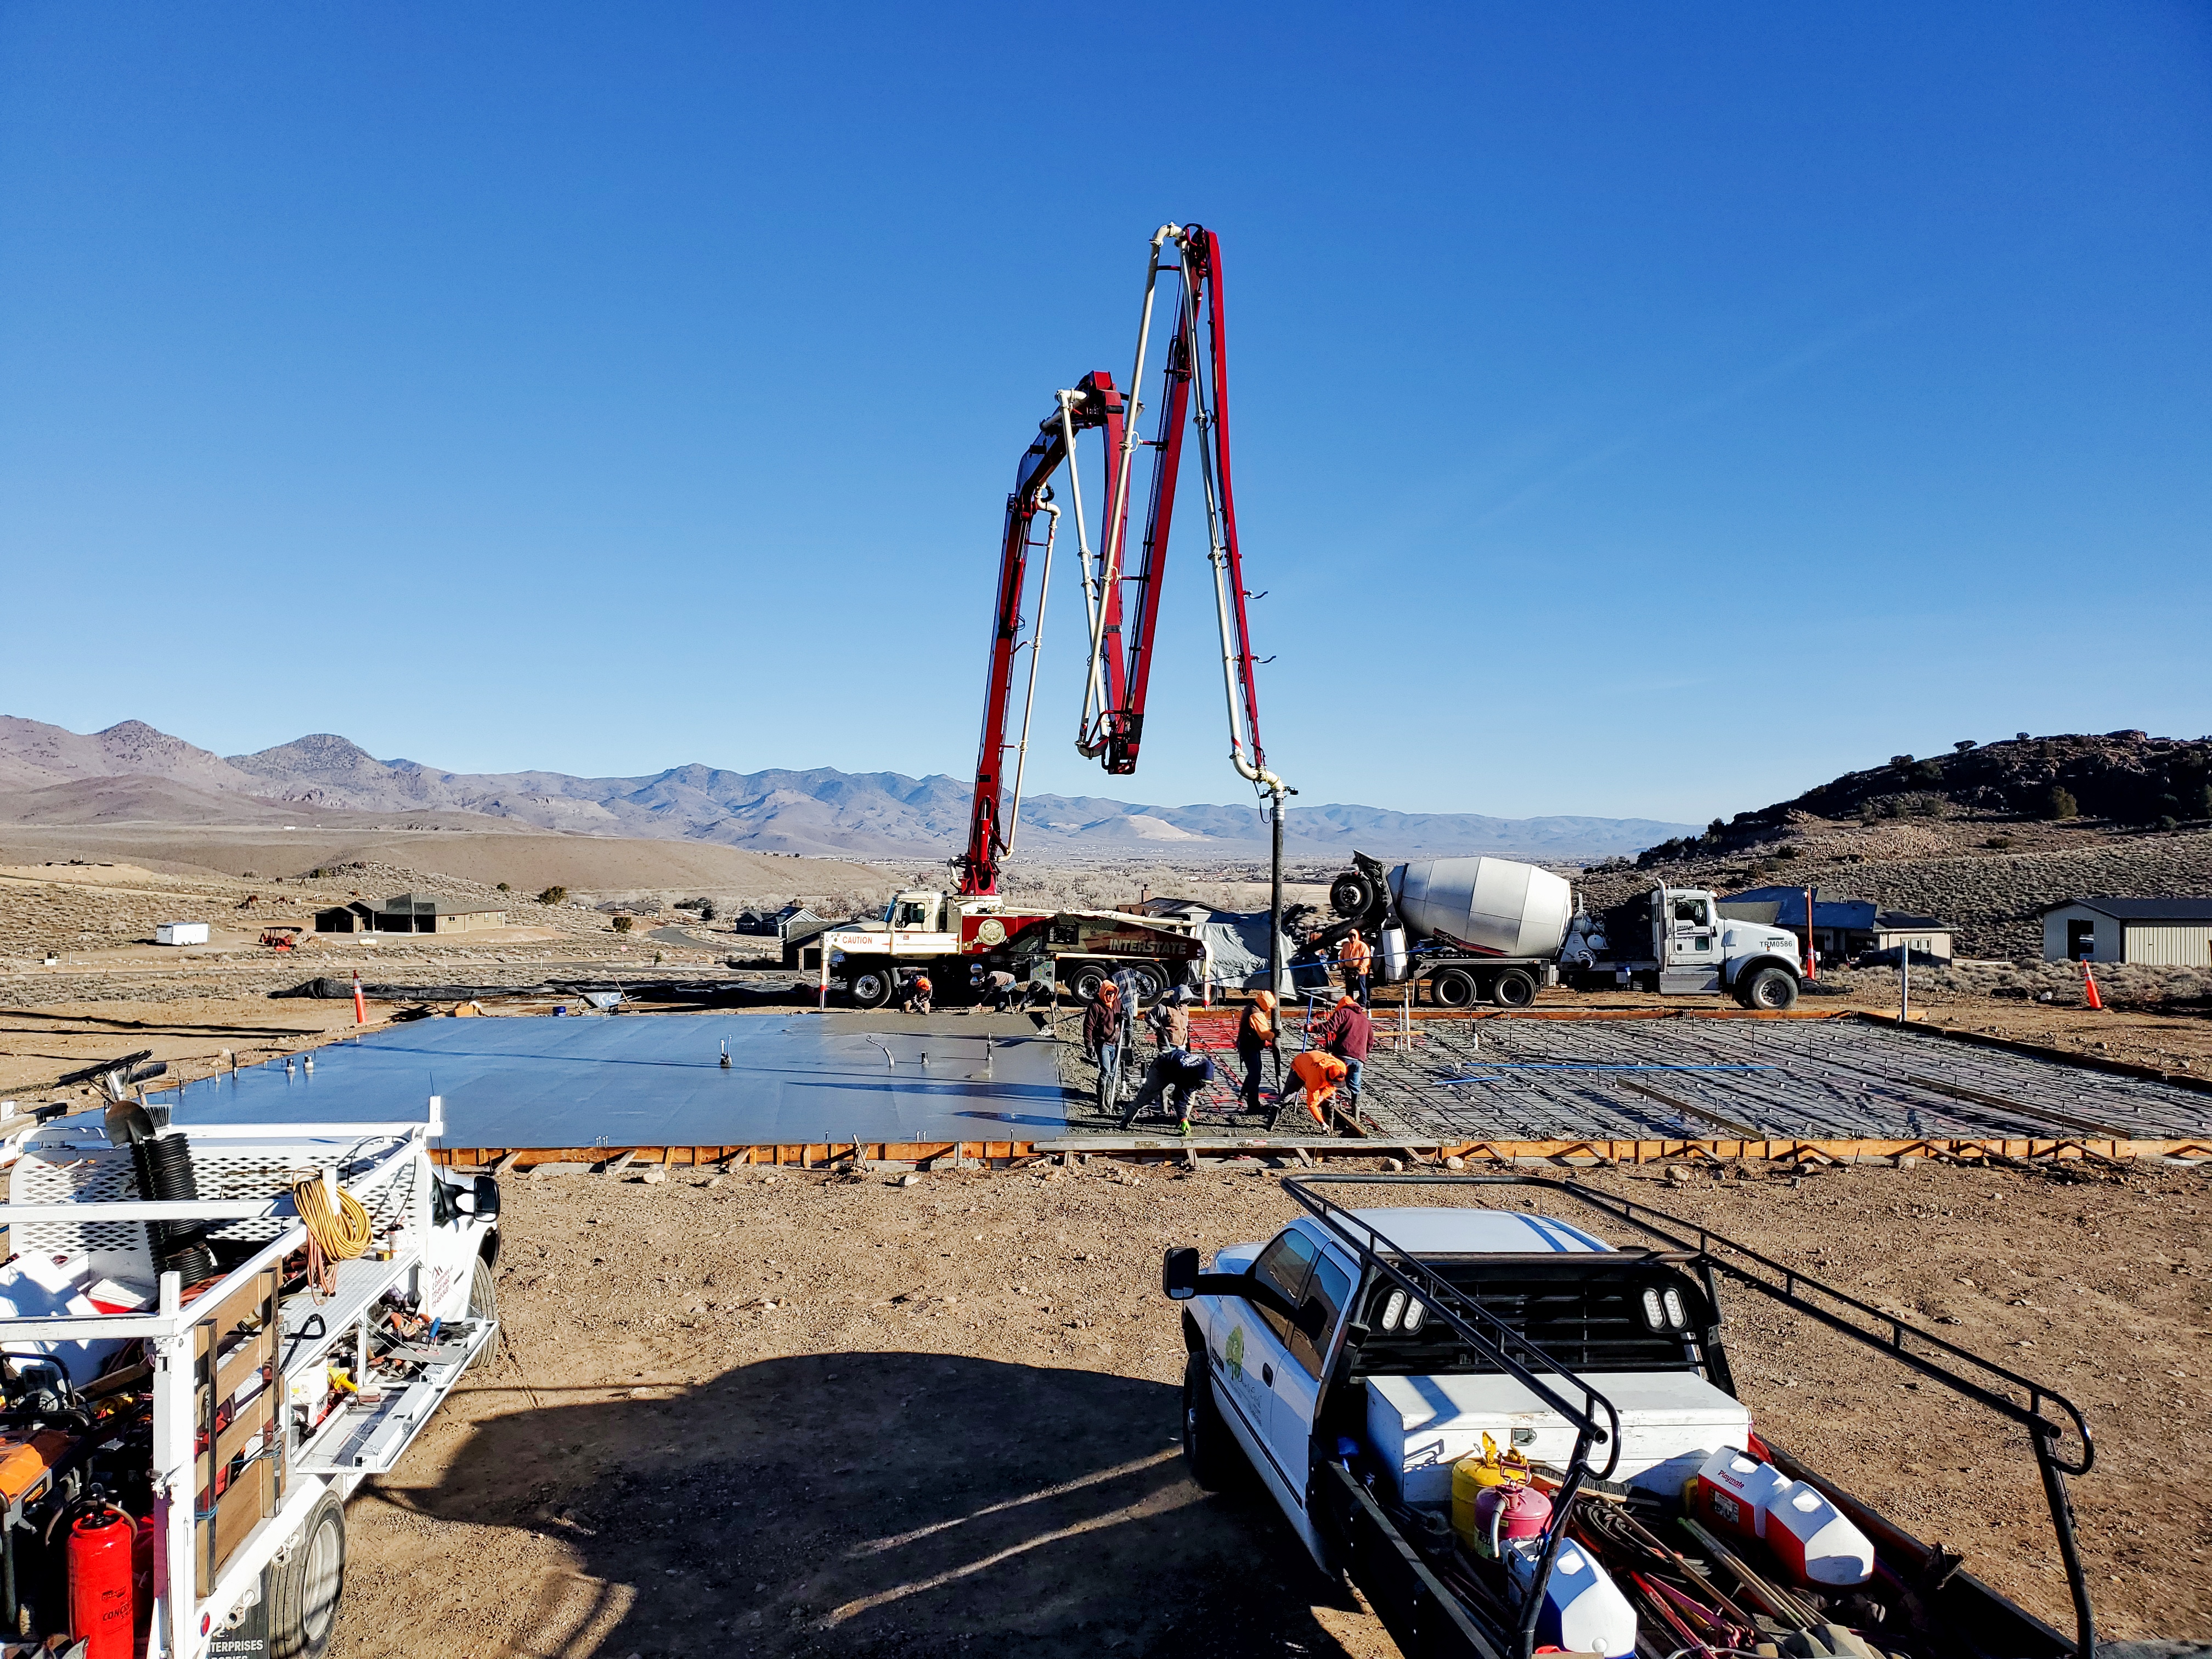
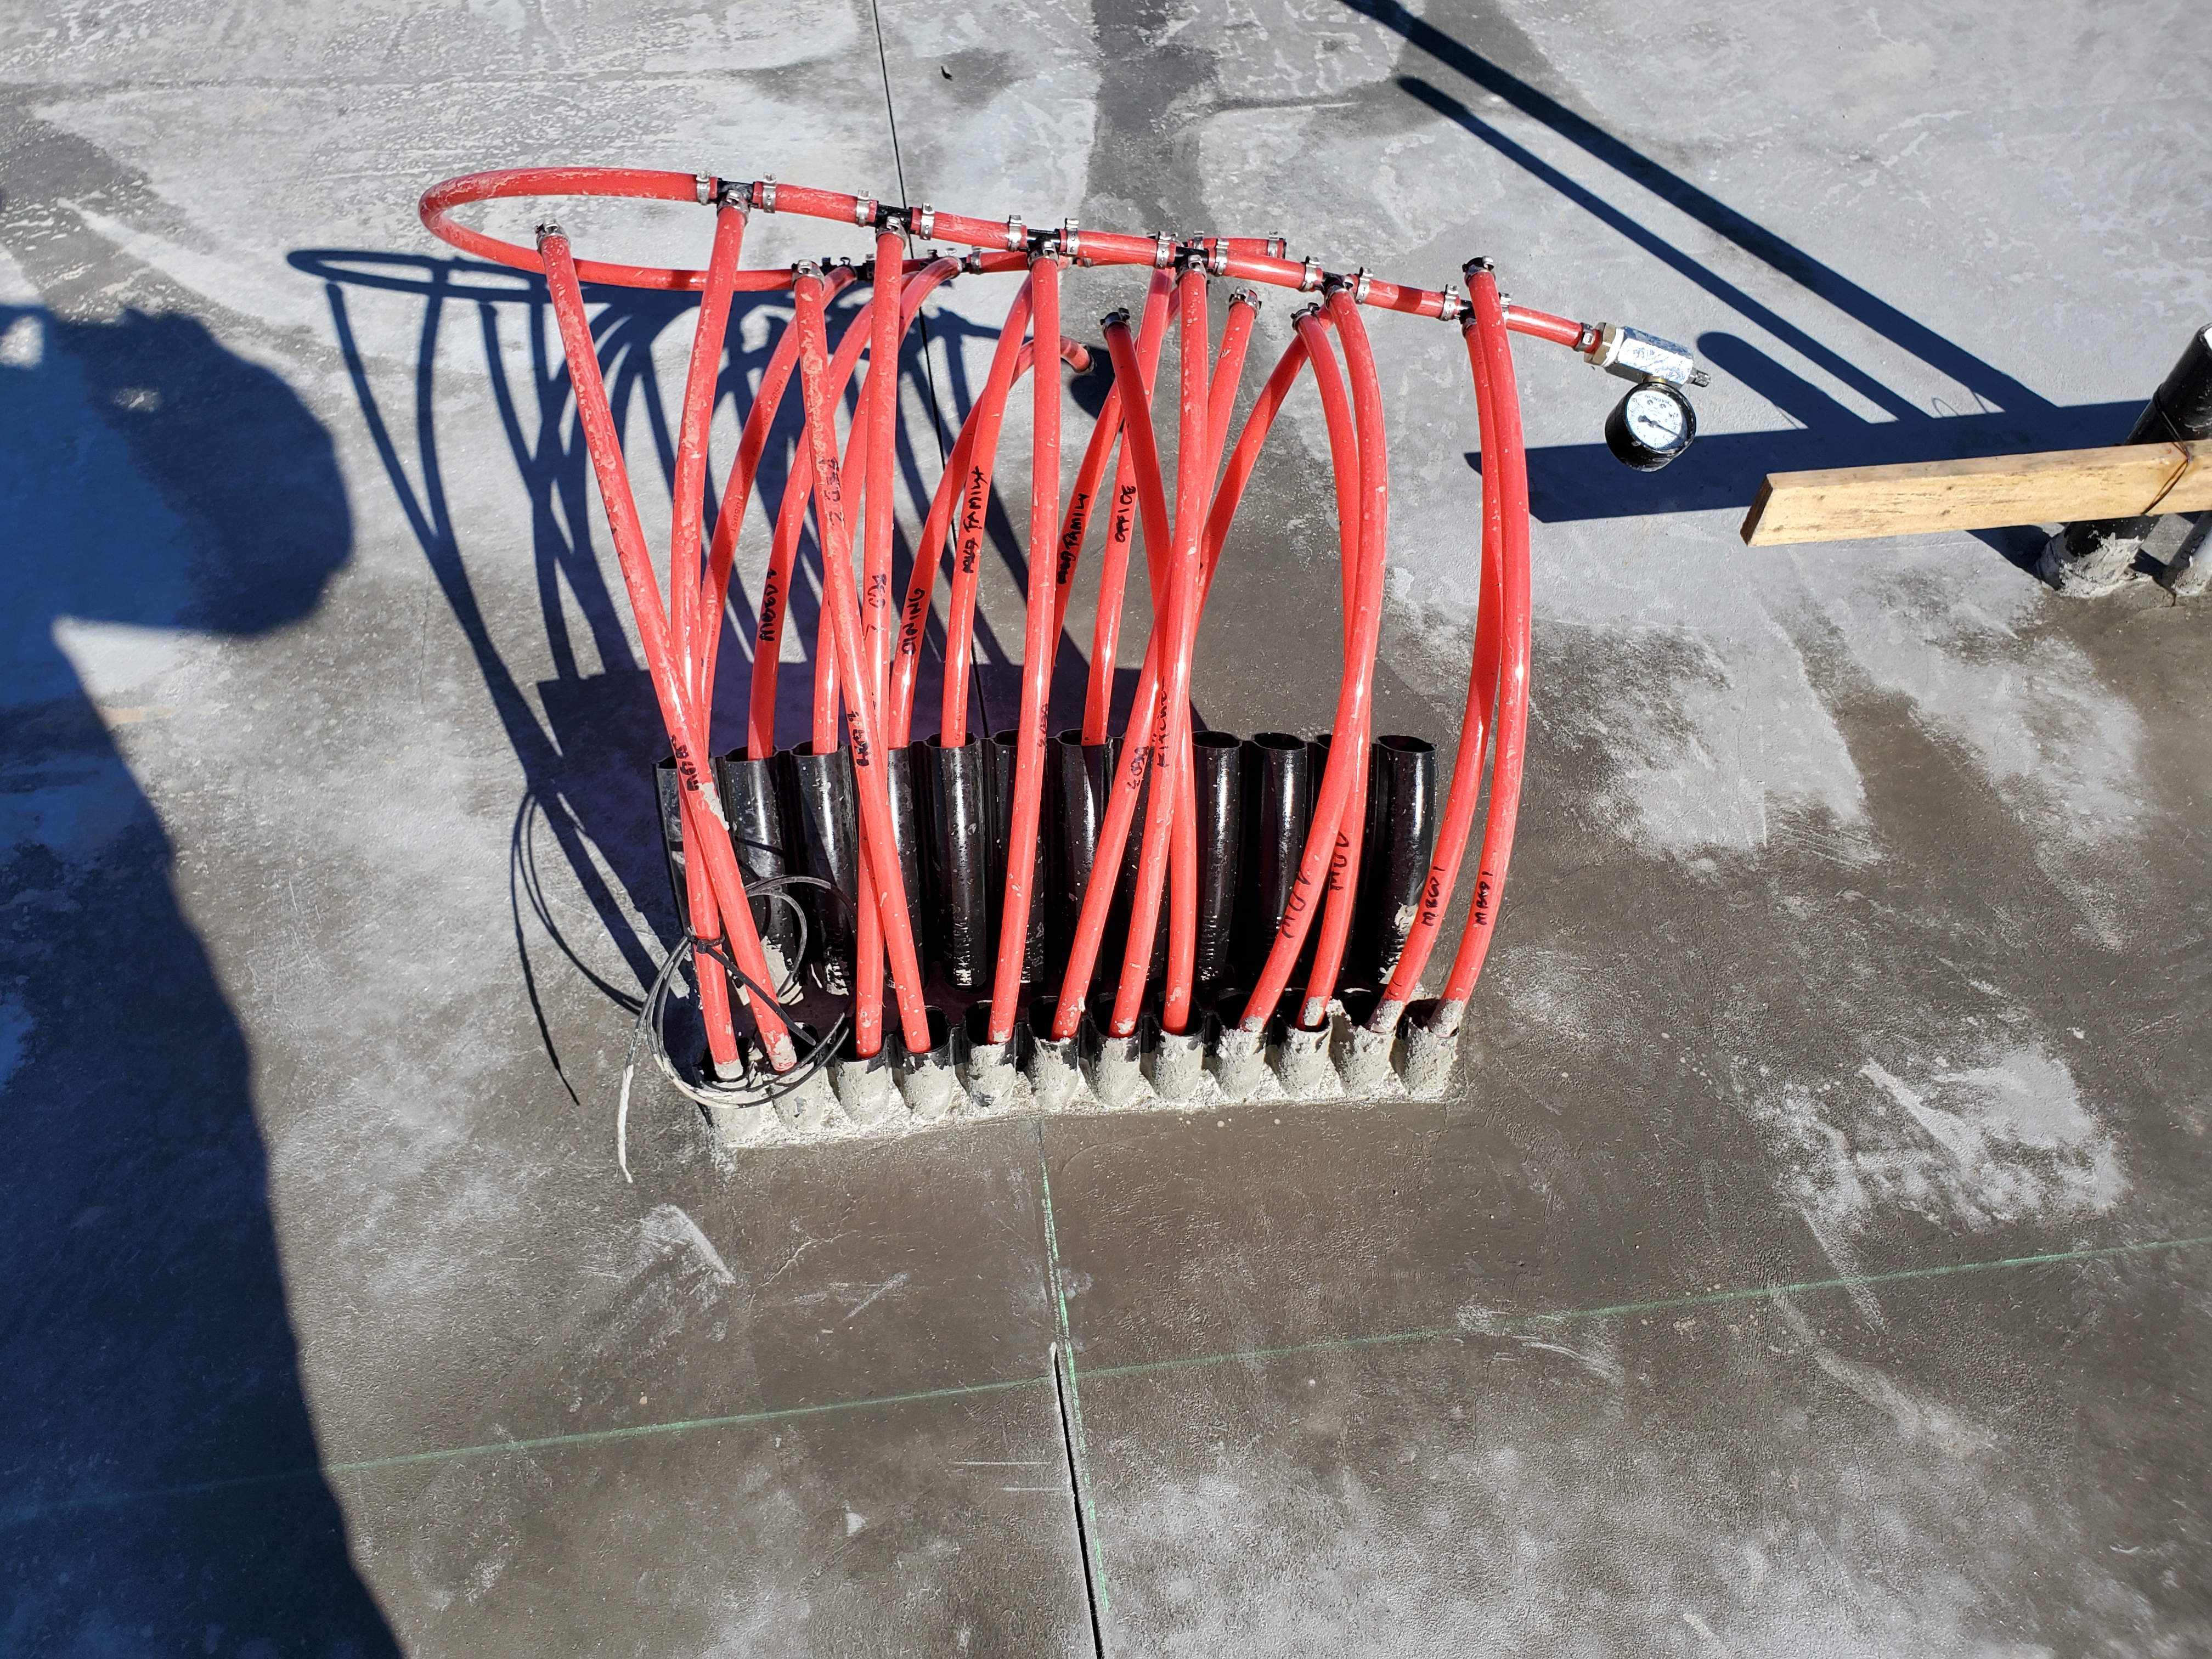
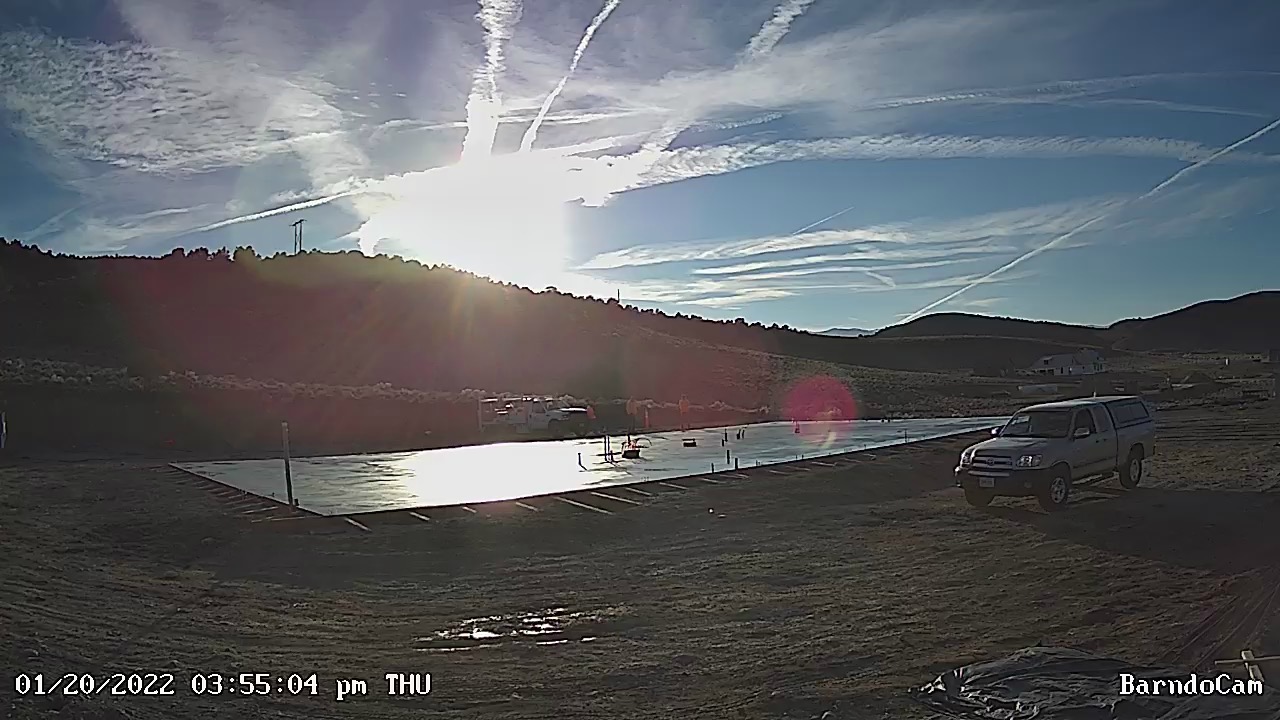
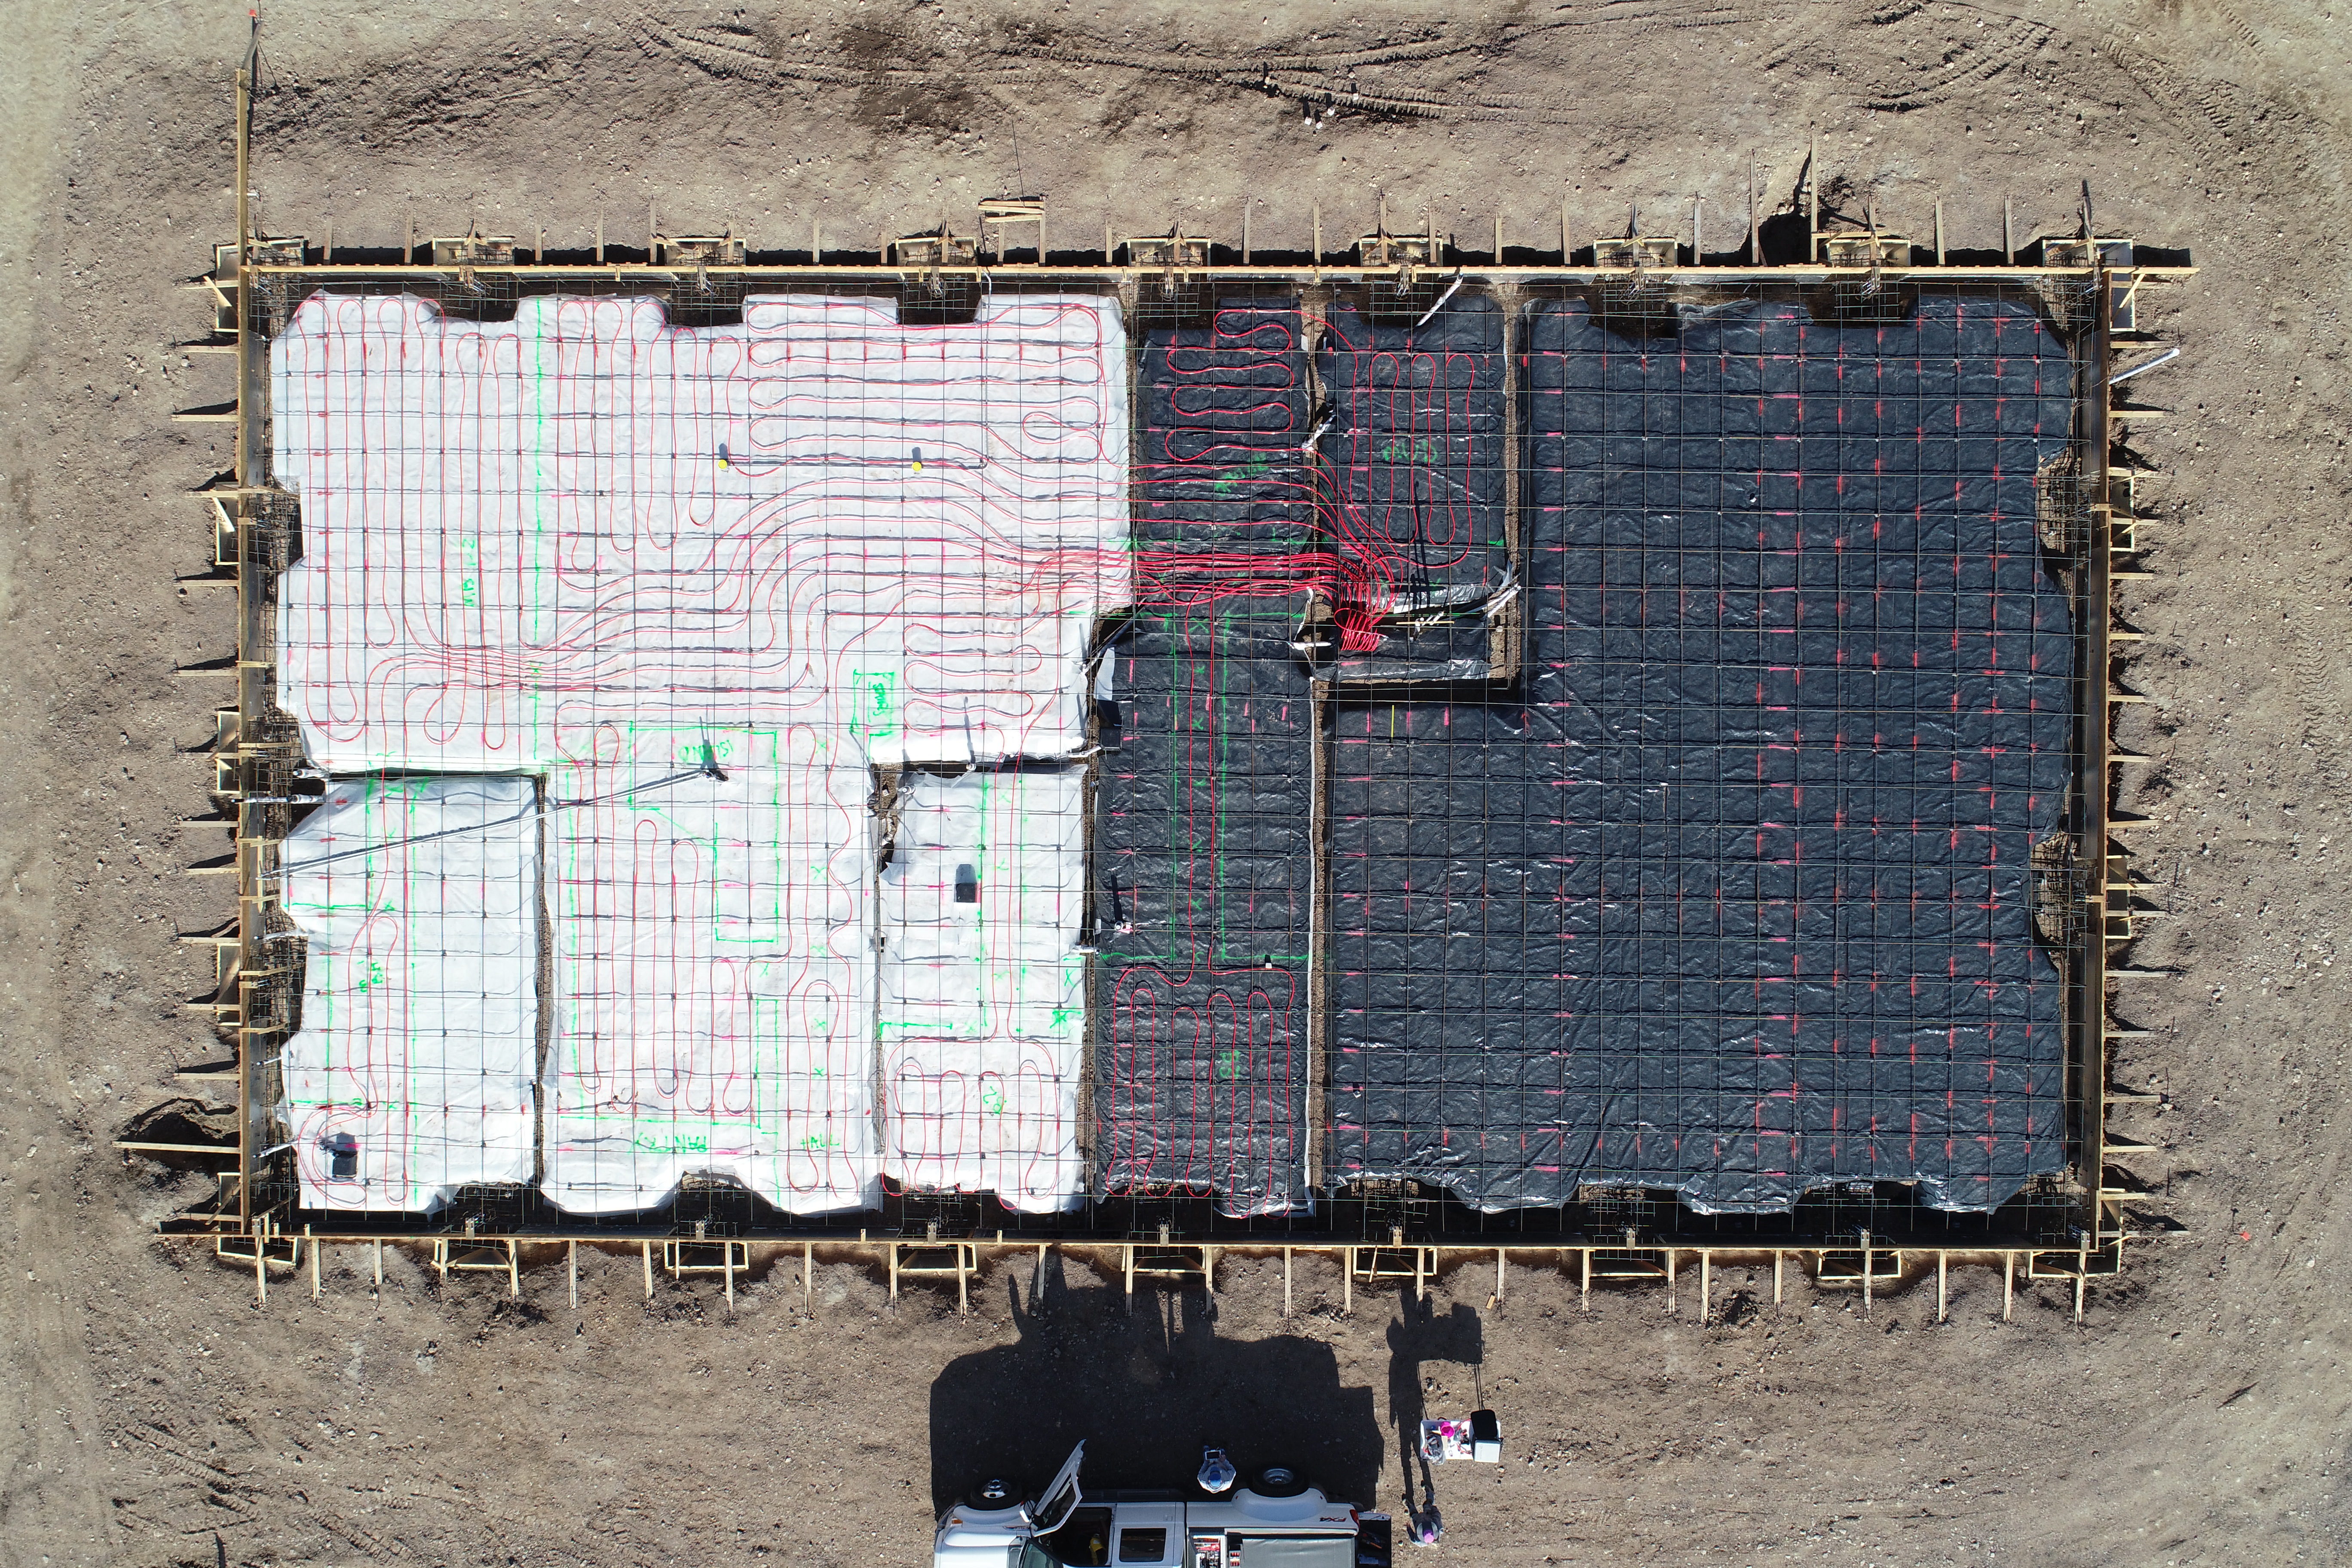
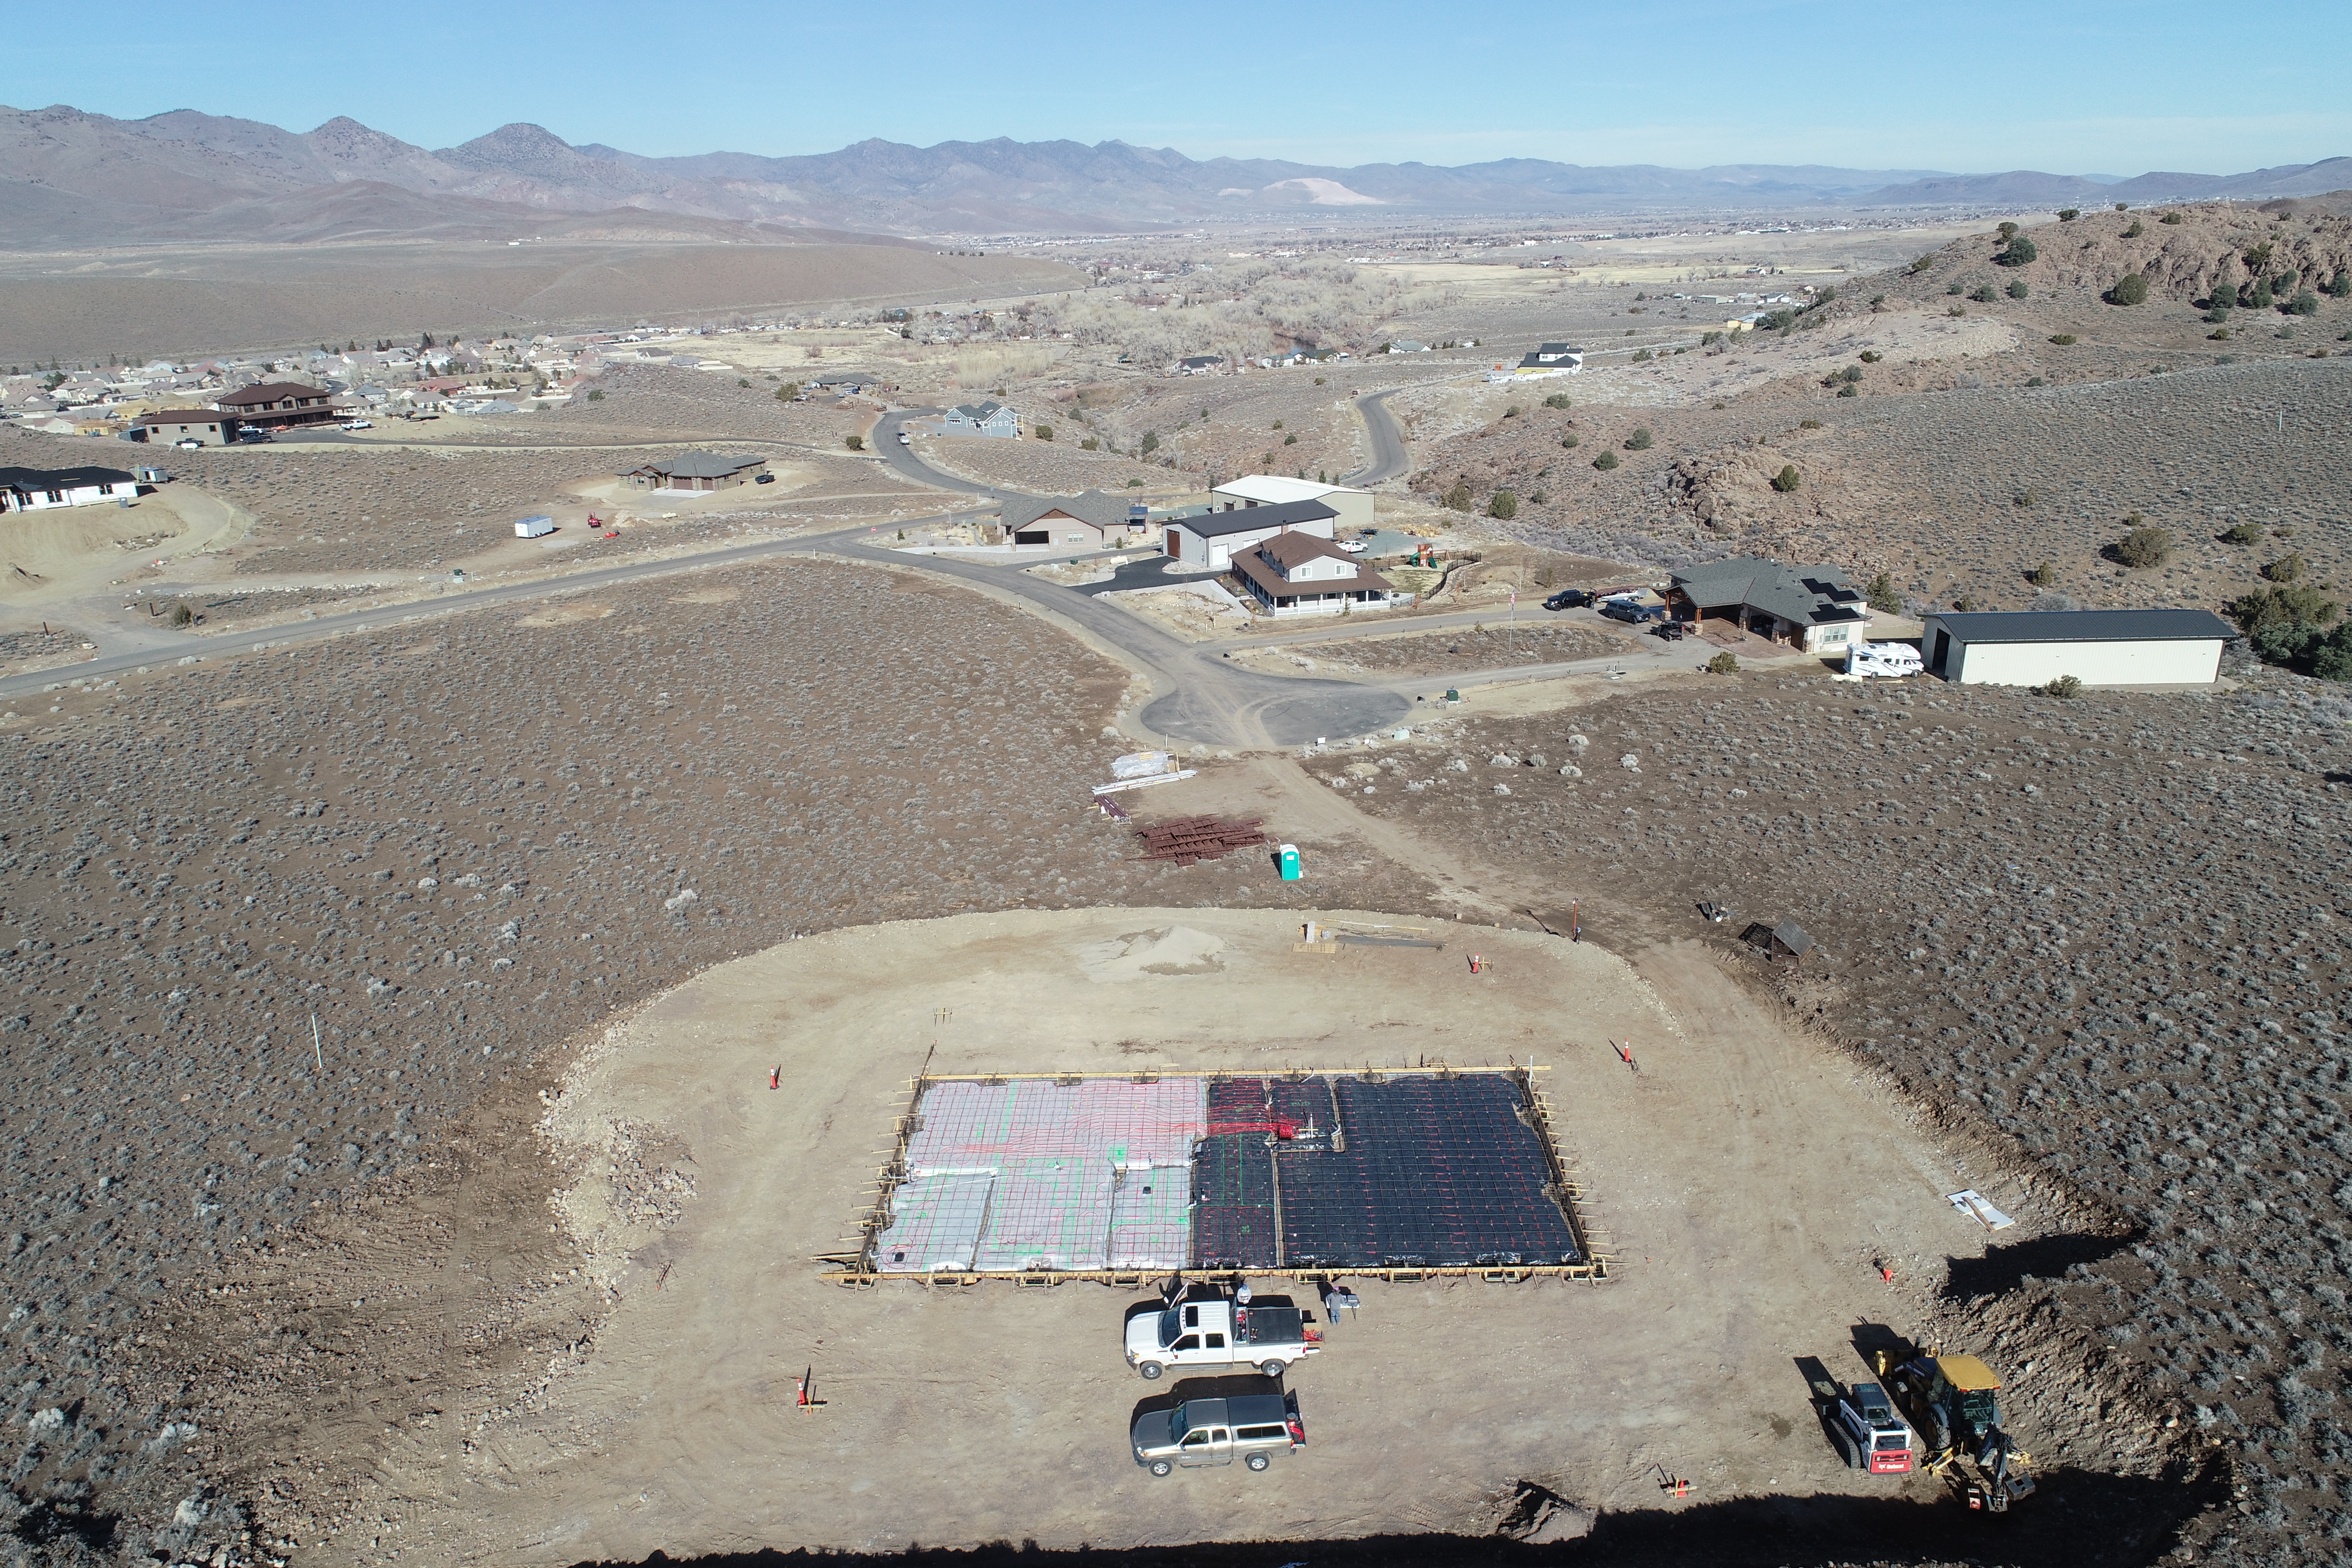
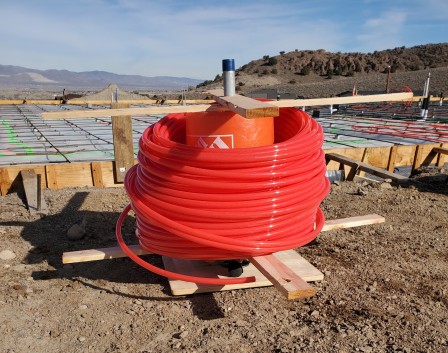
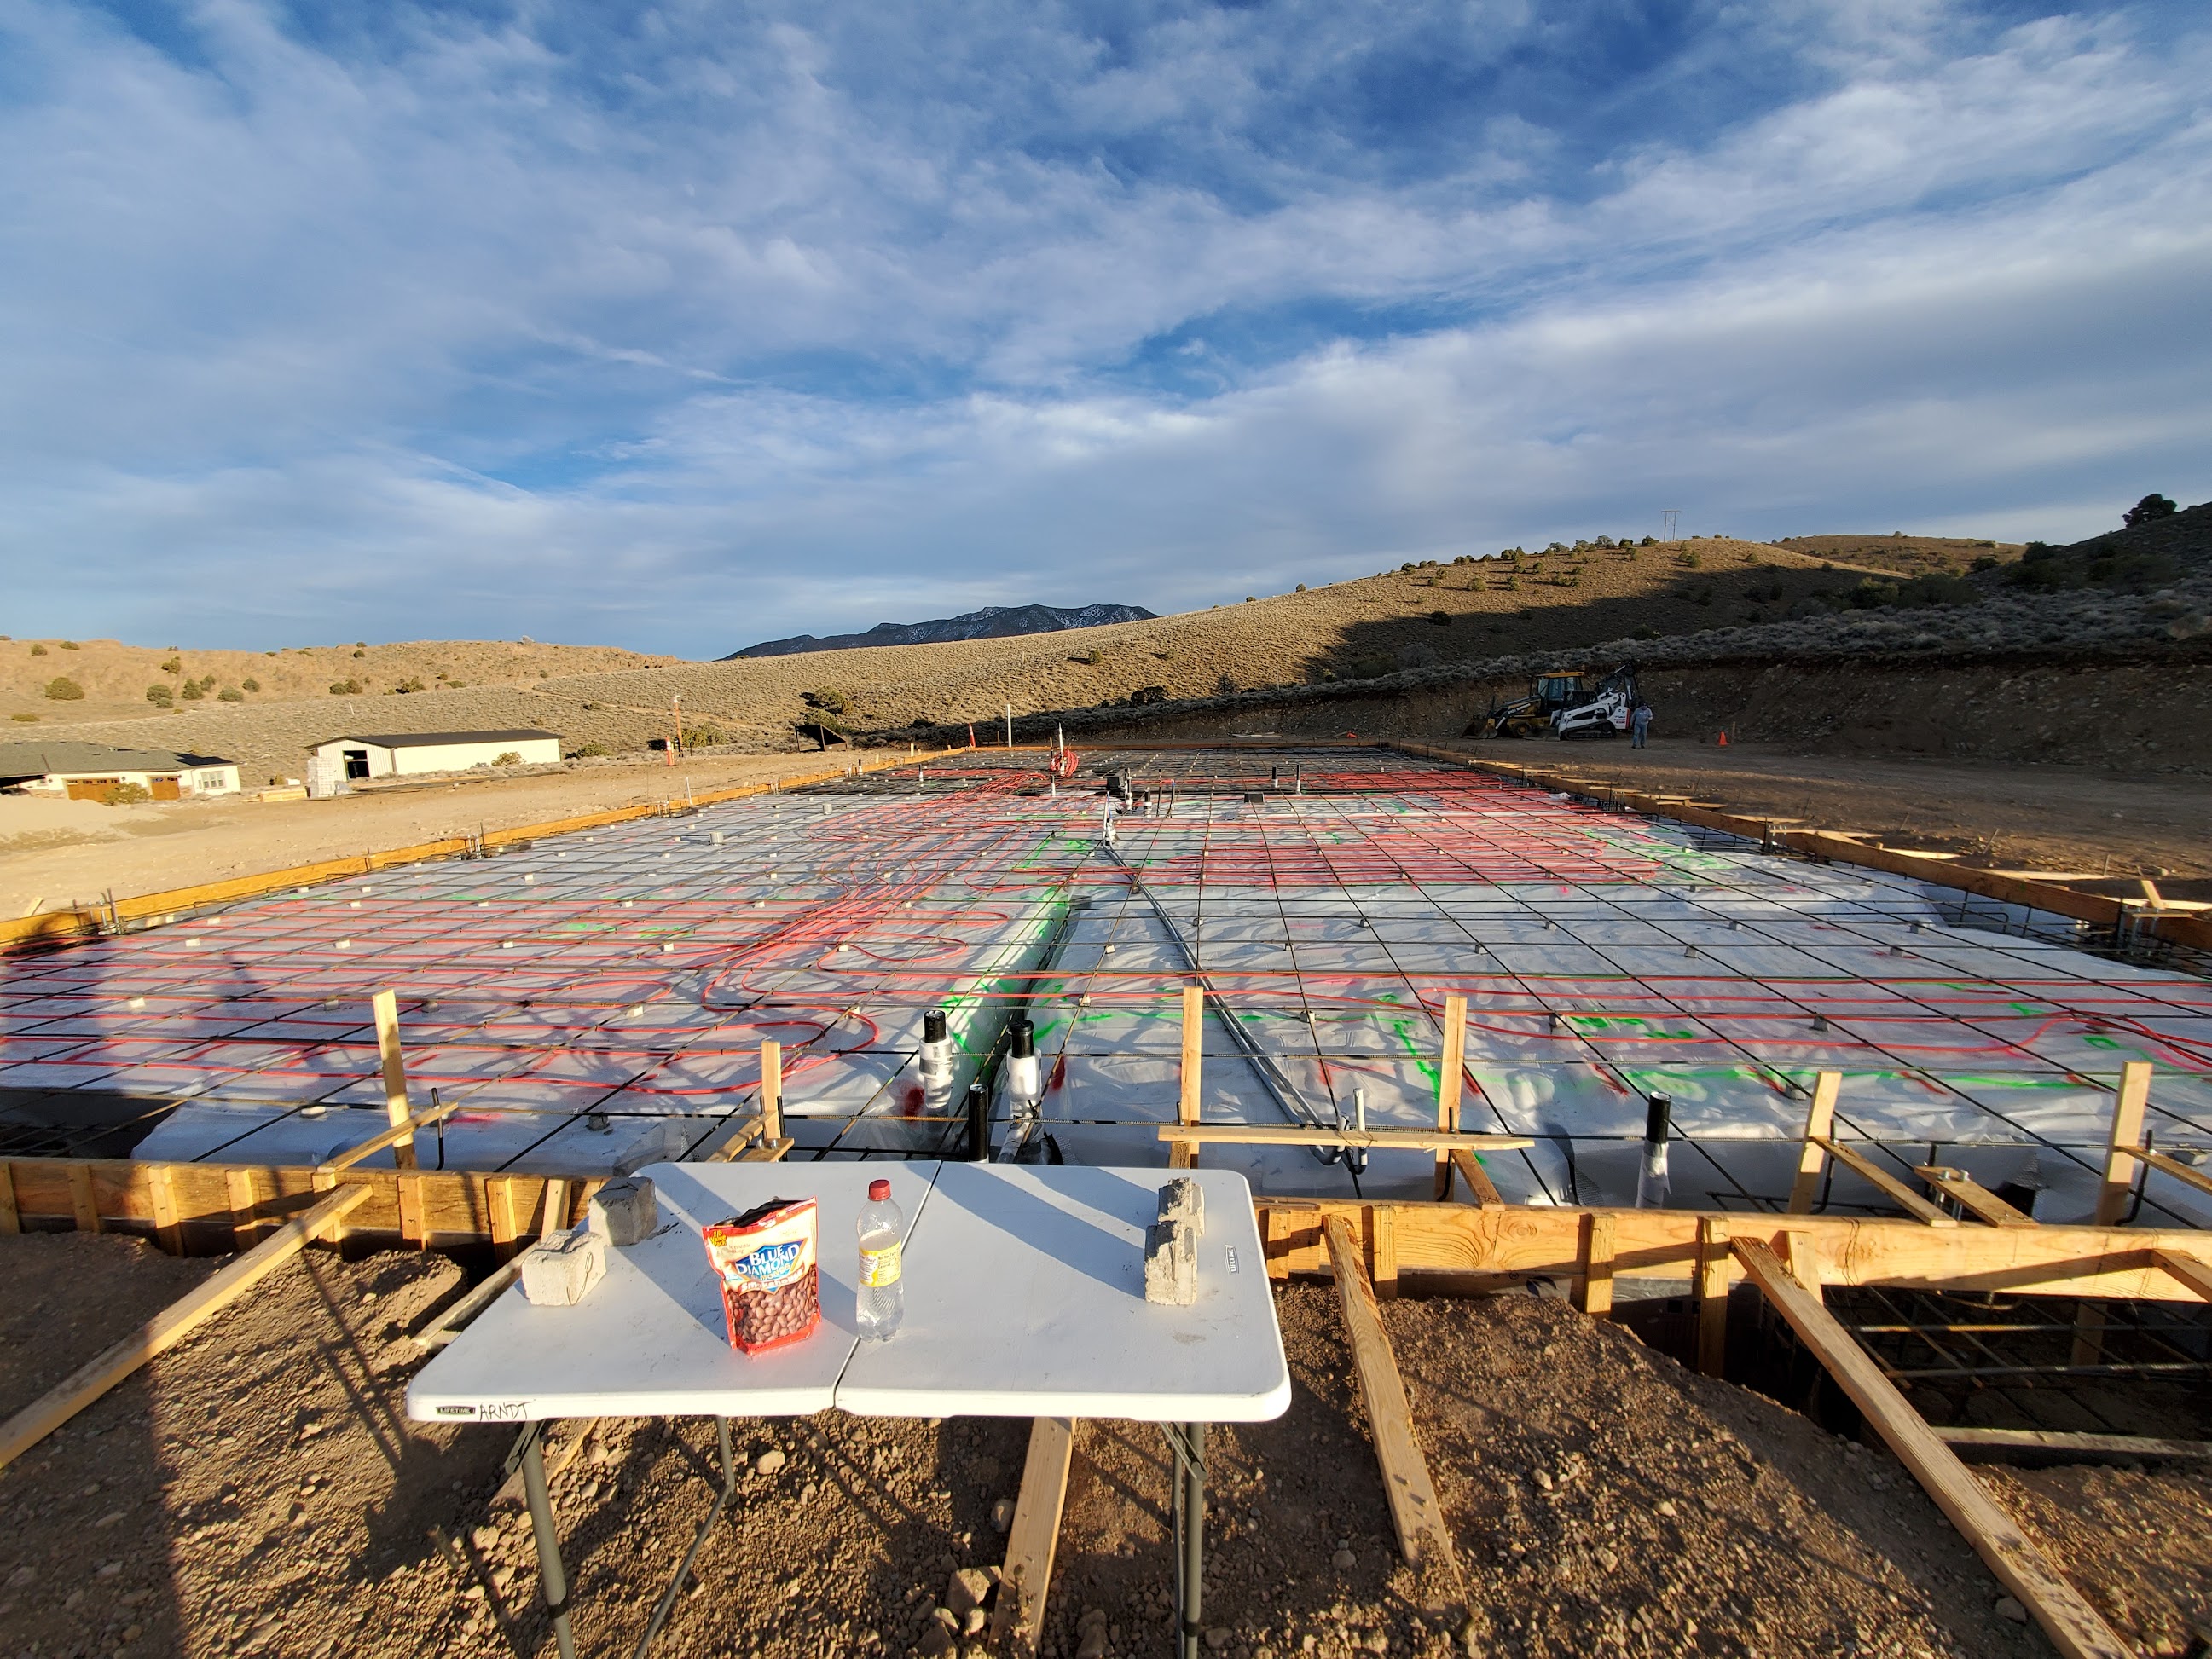
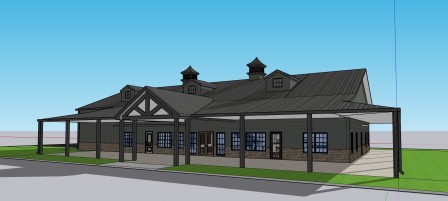
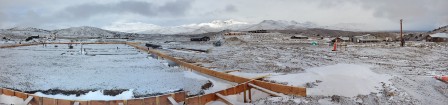
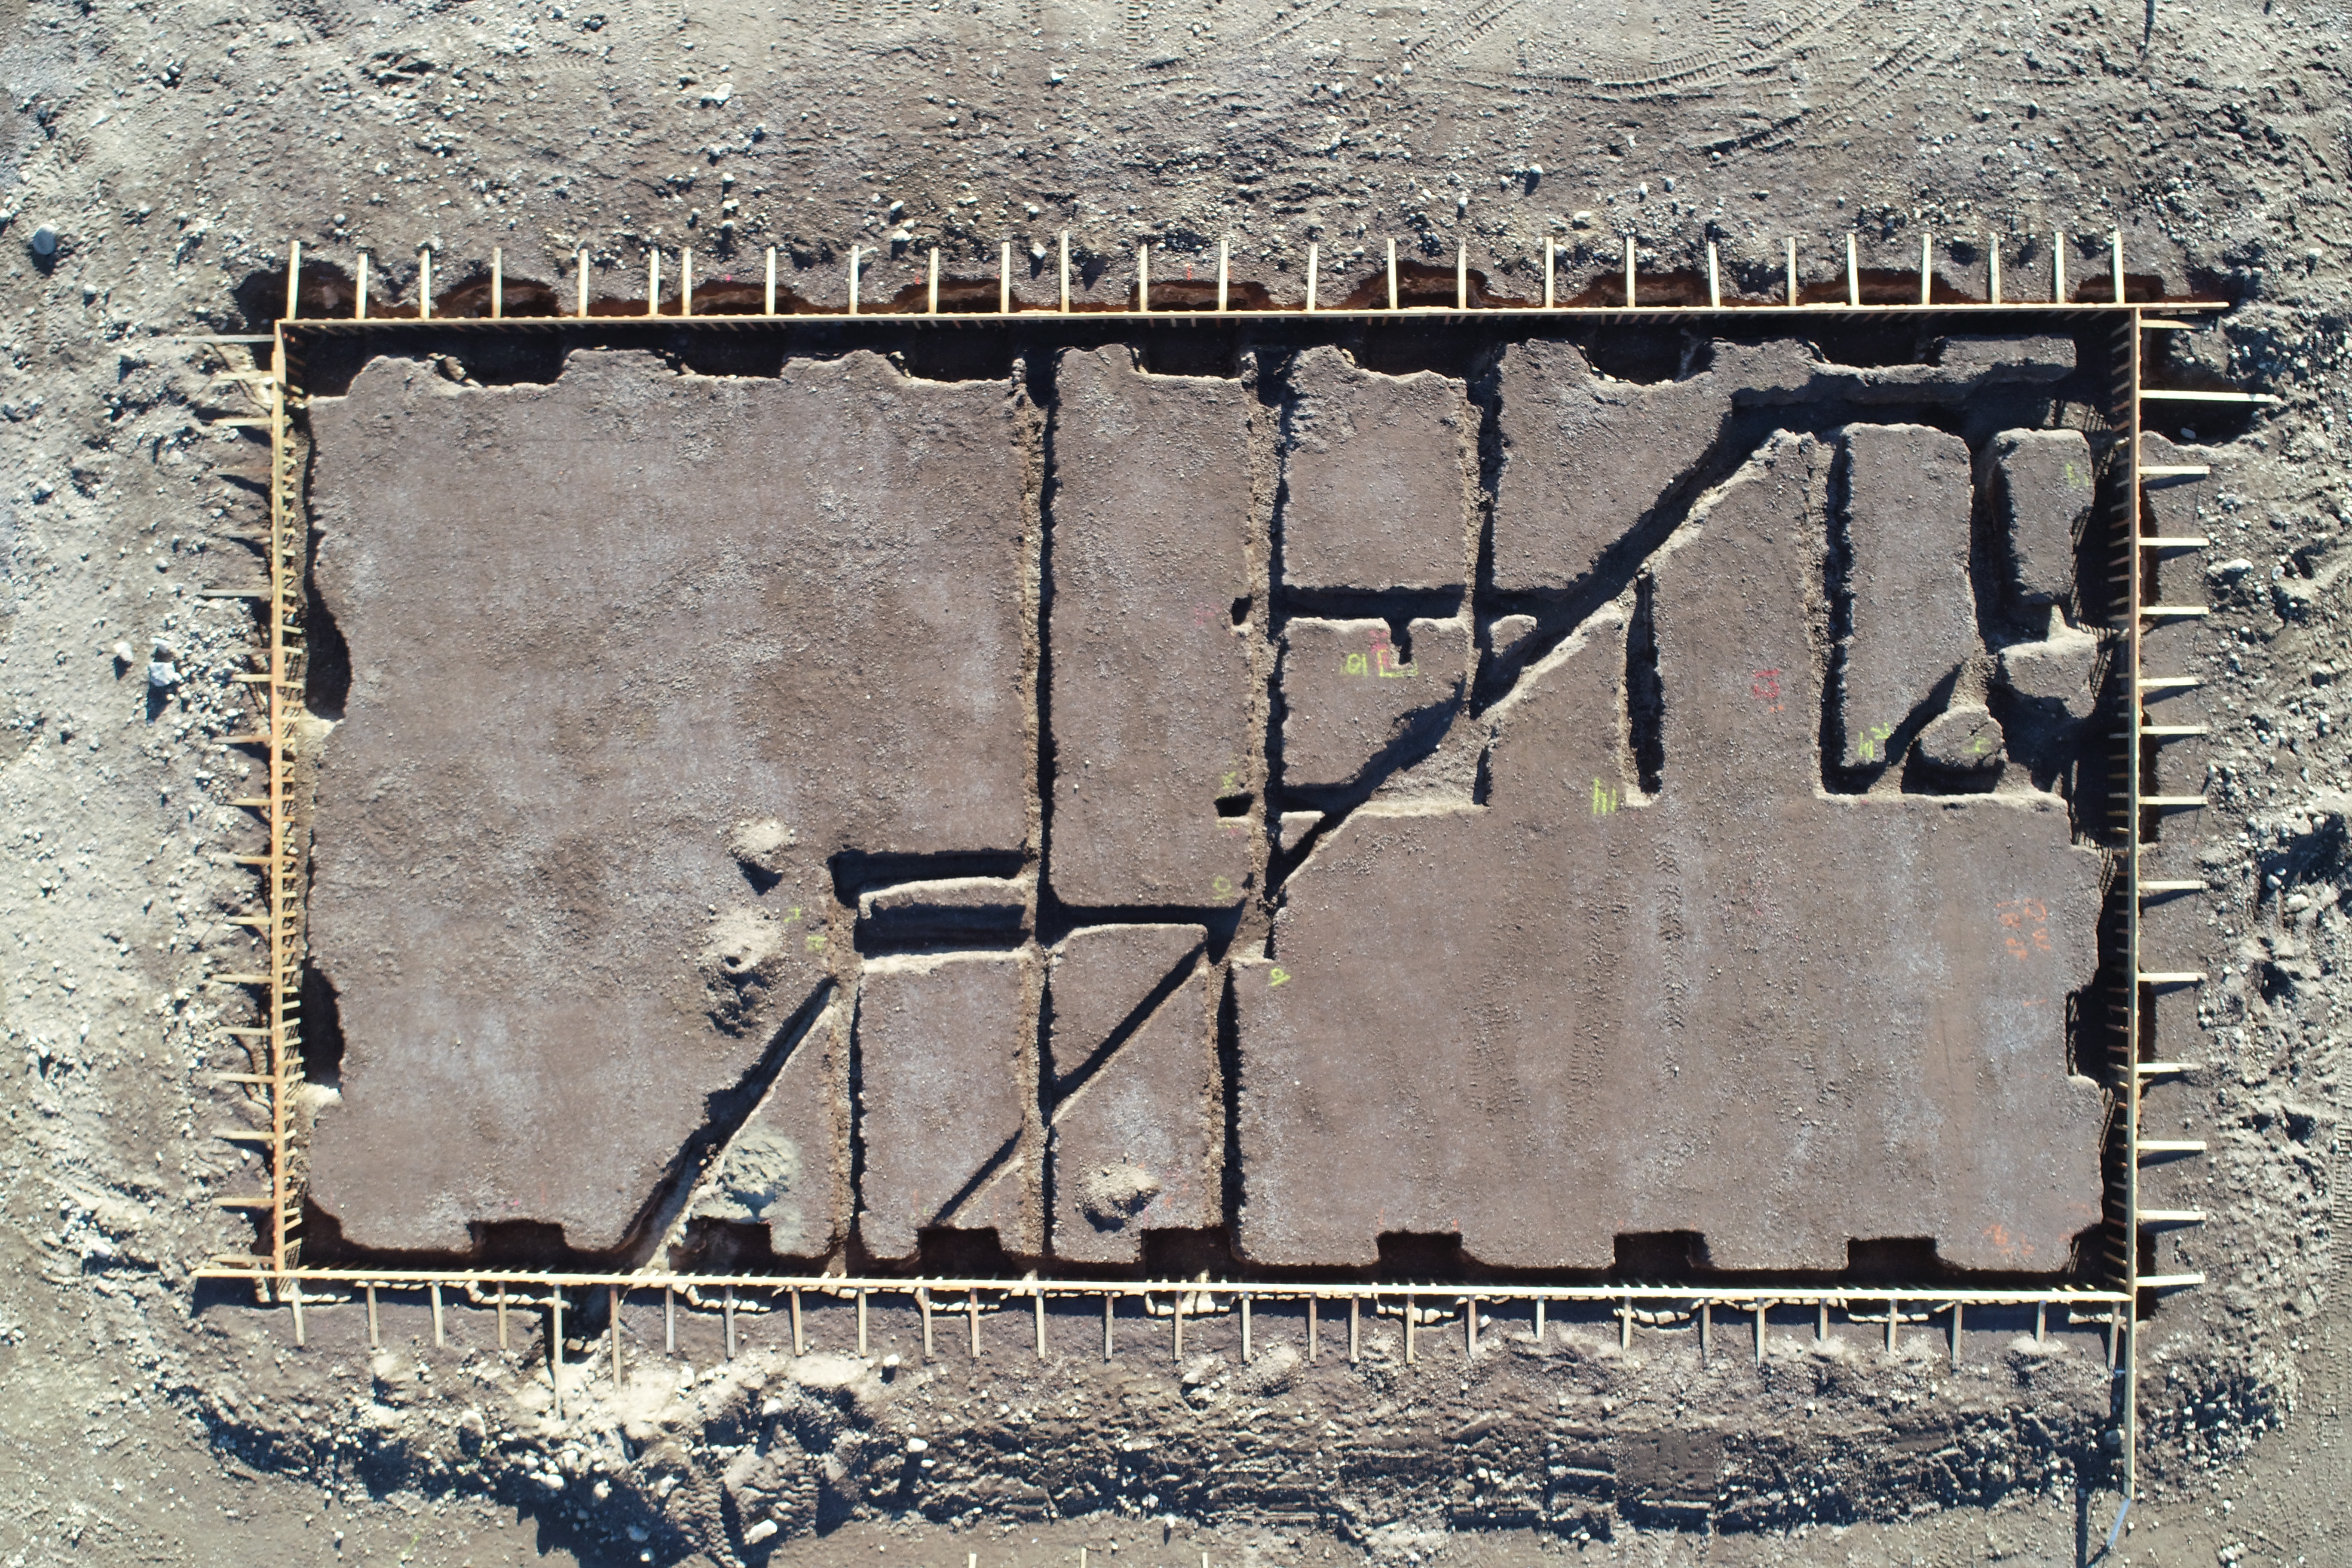
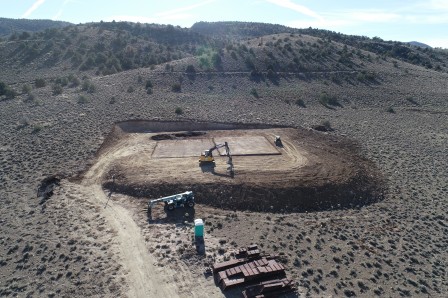
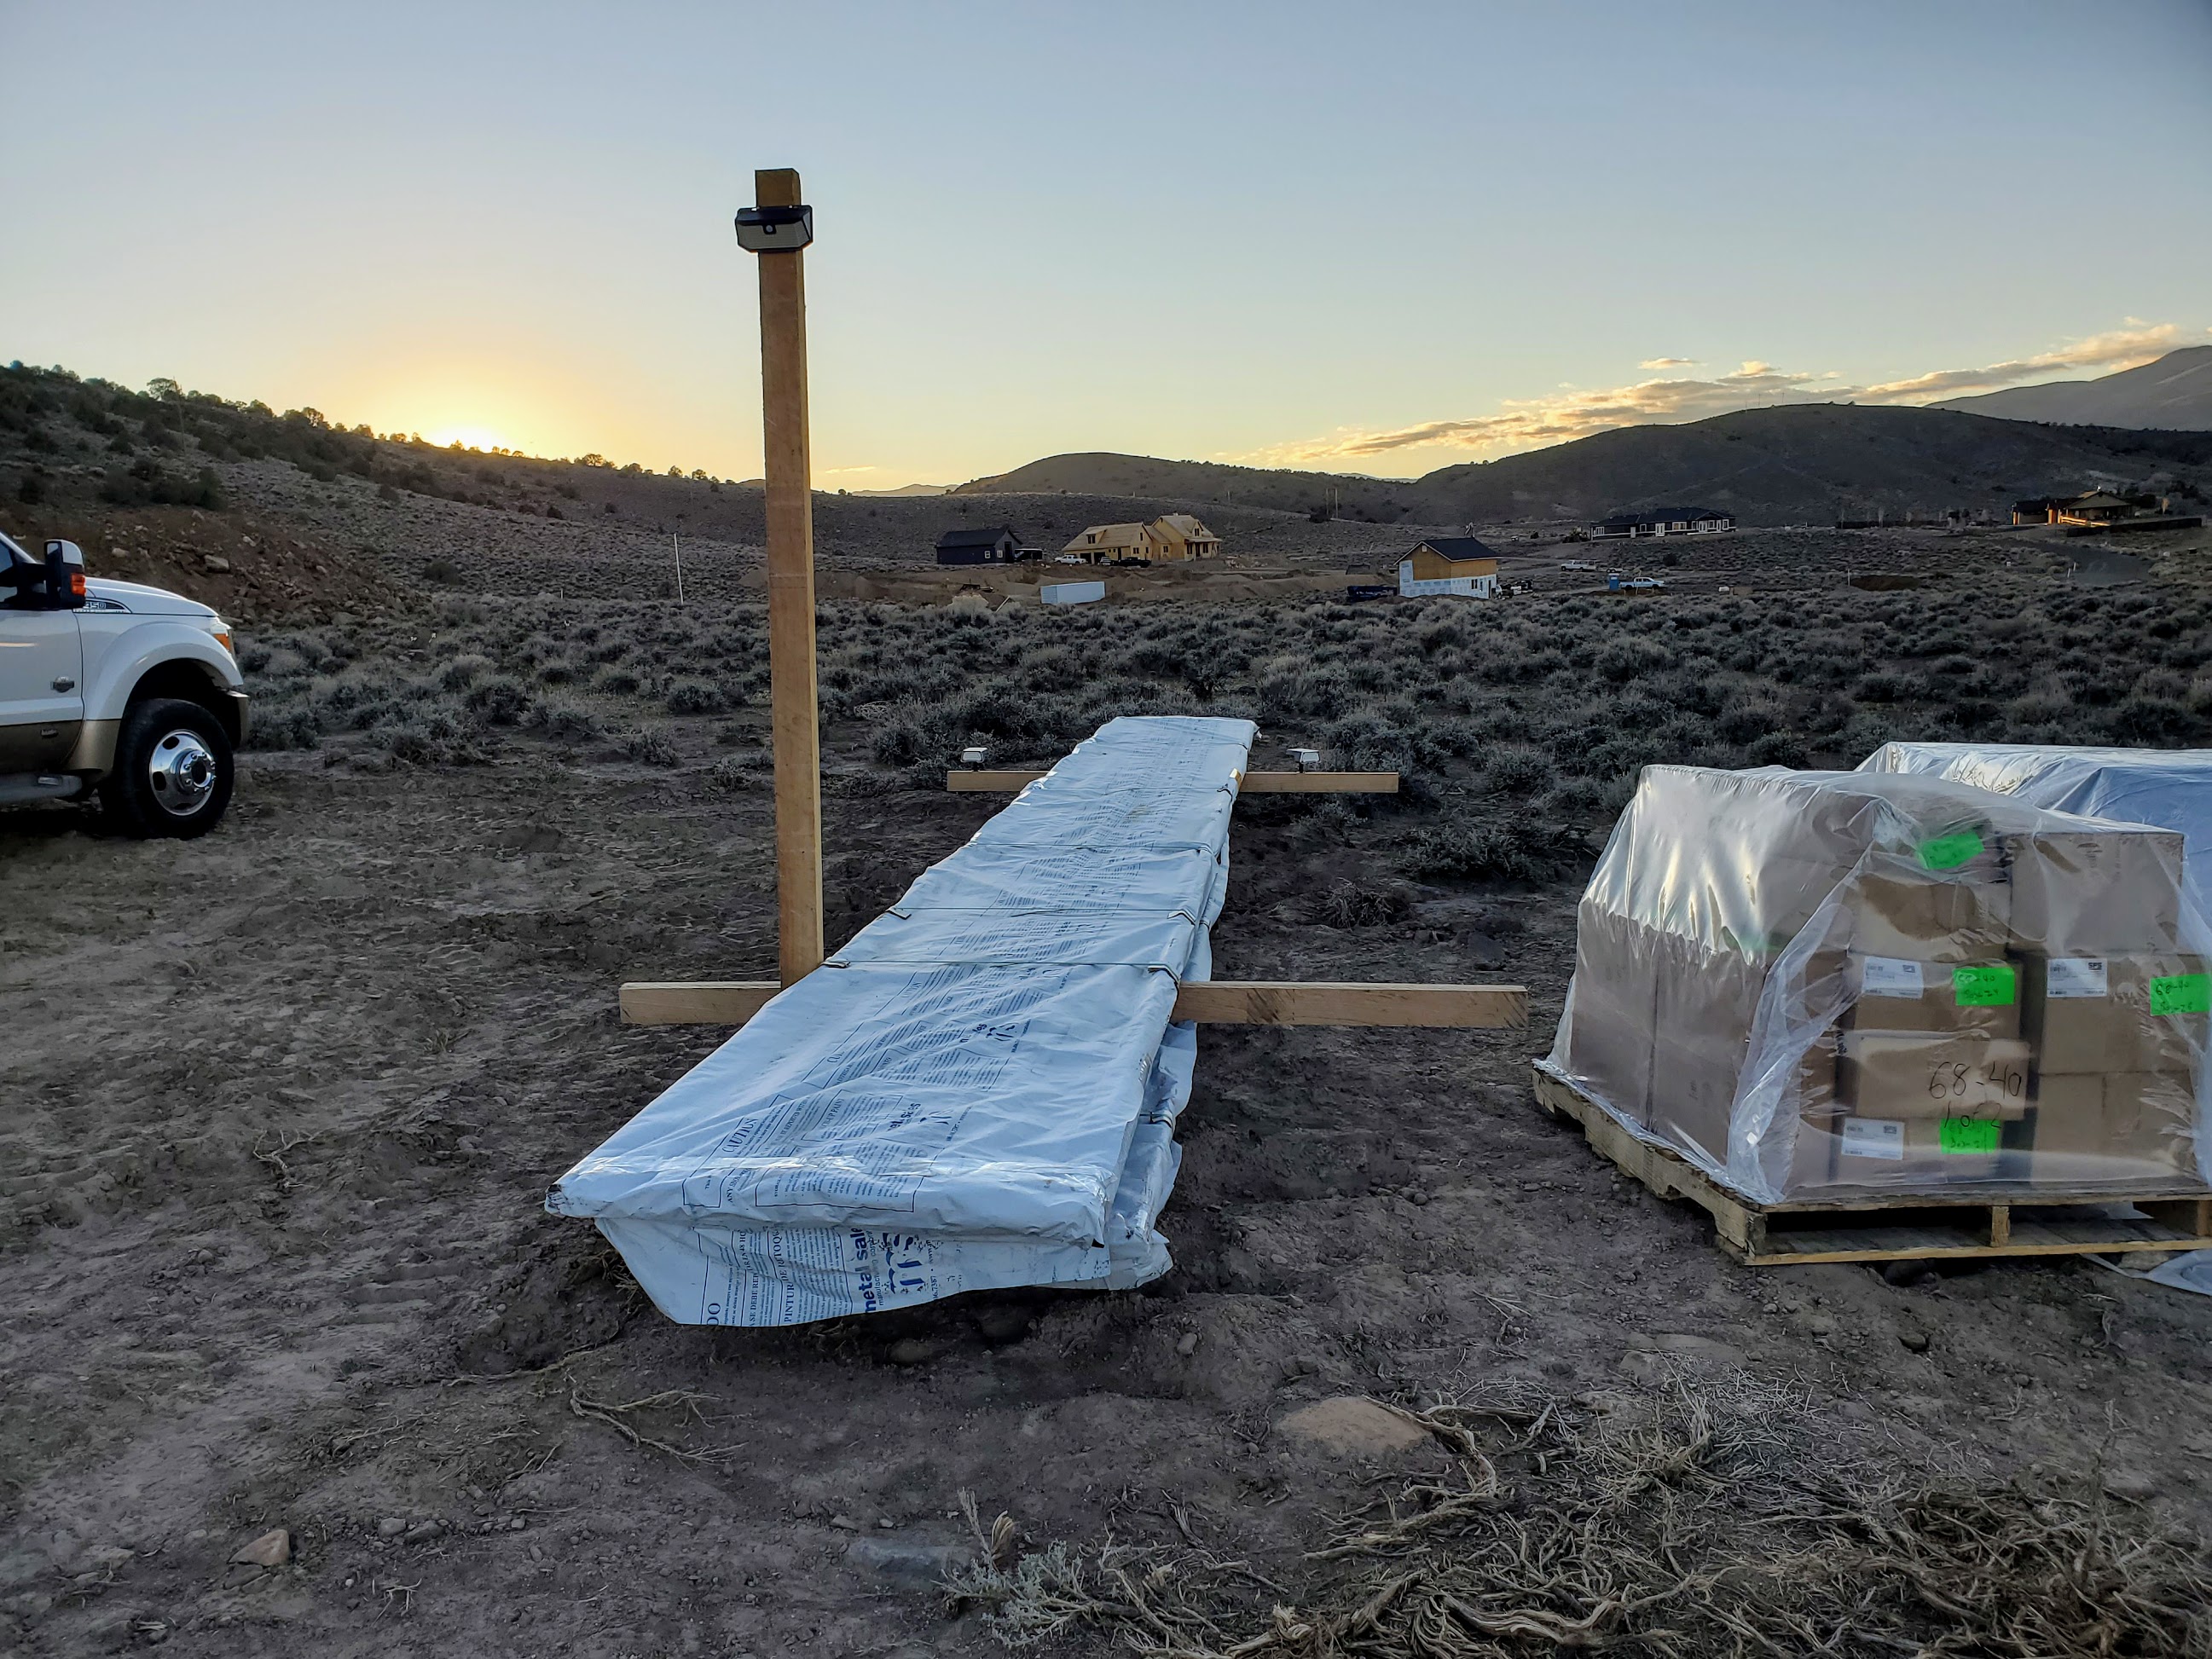
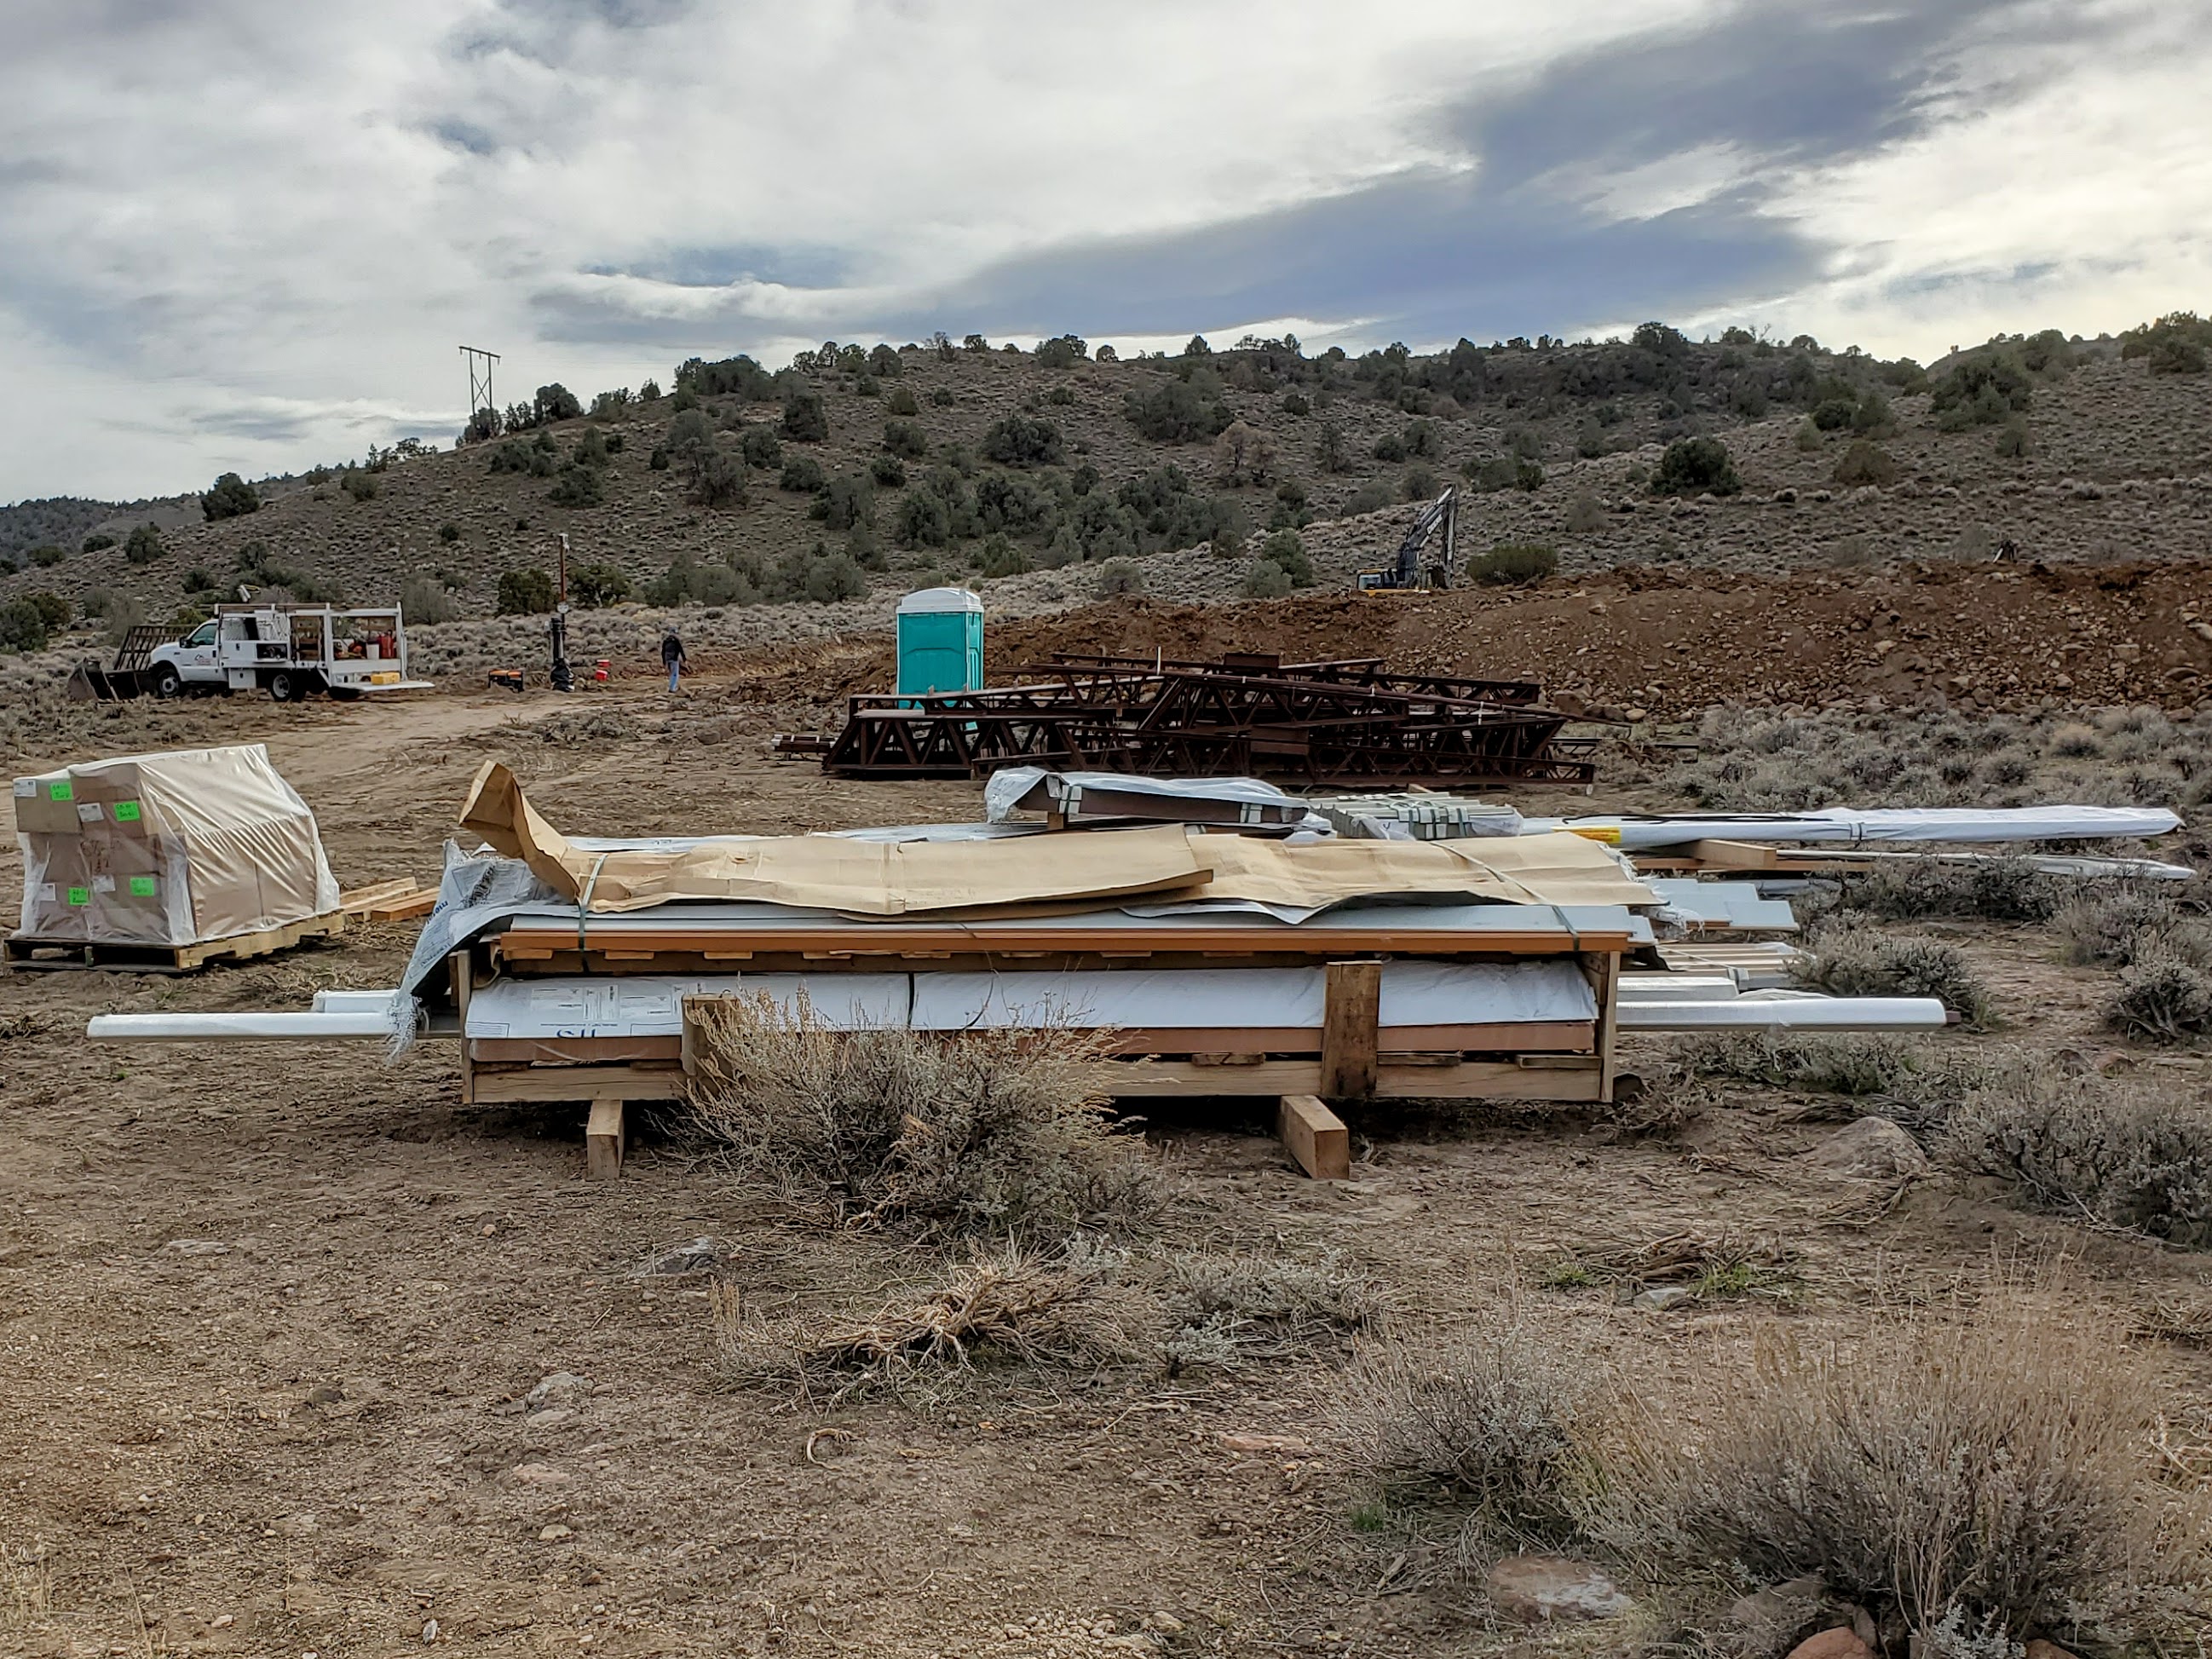
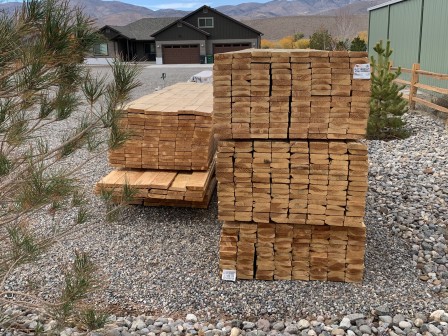
This week was slower than the last few weeks. The crew laid out the patio foundation and extensions beyond that outer perimieter. I asked that two 2" conduit chases be placed under the patio slab for low voltage cables and fuuture solar, and they of course, had to run the sewer/septic, water and pump power out of the perimiter of the slab. The front of the patio has structural footings that need to be constructed and rebar placed therin. Also to be poured will be the garage apron of 25 feet. This is a lot of concrete but will be worth it in the long run and for a long time. 

Monoslab Vista, Feb 2022
Monoslab Vista

Monoslab and Patio Trecnching.JPG, Feb 2022


Sunday, January 30 2022

1-30-2022 Monoslab Construction

Here we see insulation being place in the forms, Ecofoil radiant barrier installation, vapor barrier insulation, rebar, radiant heating tubing and concrete pour. Subseqently, the forms were stripped off and flashing installed. Materials used by us:

Click on the photo to start the video

Monoslab Pour, Jan 2022
Monoslab Pour


Saturday, January 22 2022

1-22-2022 Slab and Footings

This week the crew poured the footings and slab. Our GC - K & C Construction did the work, augmented by other local work crews. 1-20-2022 they poured 7 trucks or around 70 yards of concrete in the footings with the help of a concrete pump. The next morning, they stripped the anchor bolt forms off and poured the slab with the assistance of ten crew and an arial concrete pump. A total of ten trucks of fiber-reinforced concrete (or around 100 yards) were poured at around 25 minute intervals. The GC sent Maddog for pizza and soda. After that, the crew ate lunch and prceeded to trowel the semi-set concrete. Finally they covered the slab with insulated plastic blankets to keep the surface from freezing overnight. The next day, a three person crew cut the concrete into around 10 foot rectangles for shrink stress relief to prevent unwanted surface cracks. The slab will remain covered until Tuesday when the forms will be removed, insulation added where the forms were, and edge flashing will be installed.  There will be a more comprehensive upcoming video of the pour and finishing.  

Footing Pour, Jan 2022
Footing Pour
Slab Pour, Jan 2022
Slab Pour
Radiant Tubing Manifold, Jan 2022
Radiant Tubing Manifold
Concrete Cuts, Jan 2022
Concrete Cuts


Day is Done, Jan 2022
Day is Done


Monday, January 17 2022

1-17-2022 Radiant Tubing Complete. Ready for Concrete

As you can see, we have the radiant tubing installed below the rebar. We needed to keep it under the rebar and not passing through walls, since the GC is concerned the fasteners he is using for interior wall base plates could penetrate the tubing. If you enlarge this photo, you can see the 2' x 2' rebar grid, and the green paint outline of walls and rooms we chose not to heat. (Closets and Pantry). We used approximately 2100 ft of tubing, and over 1600 8" zip ties. We photo documented the installation for future reference purposes.

Slab Radiant Heat Zones, Jan 2022
DCIM\100MEDIA\DJI_0013.JPG

Radiant Heat Tubing Valley View, Jan 2022

Saturday, January 15 2022

1-15-2022 Barndo on a Bluff Episode 3 - PEX Unwinder

Here is a video of how we built the $25 PEX Unwinder. Click on the photo to launch the video.

PEX Unwinder Thumbnail.jpg, Jan 2022
PEX Unwinder Thumbnail.jpg


Friday, January 14 2022

1-14-2022 Radiant Heat Installation

We've spent the last week installing radiant or hydronic heat pipe on the slab. We're using 1/2" Oxygen Barrier PEX for the tubing. I used LoopCad to do the intial layout using a 30 day trial period license. Our GC didn't want any of the tubing to go under interior walls so I had to modify the routing to suit. We spent the first day just laying out the floor plan on the vapor barrier using green paint. The next day we started the effort of installing the PEX under the rebar -- another requirement of the GC. Uncoiling the PEX was certainly a challenge -- especially in the cold. Commercial PEX unwinders cost around $700 and the local rental centers didn't have any for rent. After searching the internet and YouTube Maddog had a good suggestion. After getting the materials needed to make the unwinder we put it together in about a half and hour. What a game changer! I'll put together a subsequent post and video of how we constructed it. The one we based it on was inexpensive -- this one cost about $25...and it works just fine. We estimate the cost save for us to install the radiant heat is around $40,000.

Radiant Install, Jan 2022
Radiant Install


Sunday, January 2 2022

1-1-2022 Radiant Vapor Barrier Installation

Just got finished installing an awesome product, Ecofoil, that acts as a thermally reflective and vapor barrier. Weighed down with existing rebar cages and rebar lengths. We're hopeful the crew can rebar the slab so we can add the radiant heat pipe next weekend. 


Saturday, January 1 2022

1-1-2022 Barndo Model Video Walk Through

The interior plans have changed slightly, but here is the walk-through of the original 3D model I created. The model was place on the exact spot in Google Earth so I could virtually review placement and views out the windows. Click on the picture to launch the video. 

Beulah Model Rendering, Jan 2022
Beulah Model Rendering


Tuesday, December 28 2021

12-28-2021 Foundation Footings and Rough Plumbing - Construction Video Episode 2

BOAB - Episode 2 Panorama, Dec 2021
BOAB - Episode 2 Panorama
BOAB Episode 2

Since the last episode 1 video, the crew has trenched for the foundation footings, constructed outer forms and insulation, and rough plumbing. We happended to be there when this stage passed inspection. Since then, it has been raining and showing quite a bit, stopping progress...for now.  Click here or on the picture to view the Episode 2 time-lapse video. 


Sunday, December 12 2021

What’s the difference between a flea and a coyote?

One howls on the prairie, the other prowls on the hairy.


Saturday, December 11 2021

Firm Foundation

The crew spent the last week digging the footings for the building foundation, as well as plumbing. They put in all the exterior forms and are awating plumbing rough in before we lay down vapor barrier/insulation since we are adding radiant heat pipe once the rebar gets laid in. 

Foundation Footings and Plumbing Trenches, Dec 2021
DCIM\100MEDIA\DJI_0001.JPG


Friday, November 26 2021

Barndo on A Bluff Episode 1 - Pad Preparation

BOAB Episode 1, Nov 2021


Click on this link below to view the video


Barndo on a Bluff Episode 1

Here is the first construction camera post. The time frame is from after surface grubbing through to road base build up on the level pad. The final pad will be six inches above the native soil and will prepare the pad for the foundation pour. Note the horses on the hill behind us at 1:22 into the video. Click on the square to view the video full screen. 


Monday, November 22 2021

More Horsing Around

Yesterday I saw this herd of wild horses on the road leading to our property. They waked right through an open gate to get to the better eating grounds.

Black Horse, Nov 2021
Black Horse


Sunday, November 21 2021

Take it for Granite

Busy day today. We picked out and bought the granite for the kitchen, utility and master bath. The granite is finished in a leather texture which really complements the stone pattern.  The backsplash we like is the top polished marble tile. We also covered up the sheet metal per manufacture's recommendation and installed some motion sense lighting (post) and always on lighting (two in back) to add a bit of security while the steel waits for construction. The visqueen covers also keep nosy people from the most suseptable theft. 

Granite and Tile, Nov 2021
Horses on the Property, Nov 2021
Horses on the Property
Security Lights, Nov 2021
Security Lights
Granite and Tile
 

Tuesday, November 16 2021

Steel Arrival

The 45,000 pounds of steel arrived and was off-loaded to a dirt pad near our house pad. It took an hour or so for our erector to offload all the steel on the truck with his forklift. Another 2,000 pounds will be here this Thursday. All materials checked off and in mostly good shape. We took the pallet of hardware and stored that in our storage shed to leep prying eyes and hands off our property. 

Steel on the Truck, Nov 2021
Steel on the Truck
on the ground 20211115_140338.jpg, Nov 2021


Wednesday, November 10 2021

Well, it works. So does Maddog.

Well First Use IMG_0649.jpg, Nov 2021

We got to the site today and were surprised to see a few new things. First, a vibratory sheepsfoot roller was being offloaded. That will be used for compacting the downslope fill. It looked brand new and also had a blade on the front. Maybe I can drive it. The other thing that was a pleasant surprise was the first use of the well pump. I had wired it up so our GC (more on him and his company later) could use the water to fill the tank they use to spray down the cut material to aid in compaction and settlement. 


It was nice to see so much excavation progress being made. Our crew said that they would be cutting around 8 feet below the topsoil upslope and moving that downslope. They took a reading at the exact center of the house location and used a laser rotary level to run all the excavation measurements relative to that center reading. This allows for a level pad to be built relative to the house center. In the video you can see how they are progressing on the pad. You may also see "Maddog" sneaking up on the crew to be sure she understands what is happening. I think Maddog is going to take the crew some local lunch favorites tomorrow. 

You can click on any photo or video to enlarge them. 

Tuesday, November 9 2021

Excavation Begins

This week the excavation of the pad and surrounding area began in earnest. They are building up a downslope berm that will be filled in with the cut material from upslope. As a bonus, the rain allowed a rainbow to form leading to the Bluff Barndo site. There's gold in them thar hills!

25 Sienna 11-9-2021, 7-58-05 AM.jpg, Nov 2021


BarndoCams

We installed two cameras on the bluff last weekend. The first is a purpose built time-lapse camera that cannot be monitored remotely. It's desgined to be waterproof and take a snapshot at a user defined interval (I chose one minute) and to build a movie automatically out of the images. A set of four lithium AA batteries and a 32 GB SD card gives at least four months of time lapse. The camera is set to stop at night and start again the next day. The camera I chose was the Brinno BCC100 Construction Camera https://www.brinno.com/construction-camera/BCC100. 

The second camera I added was a solar powered PT camera model Go PT made by Reolink. It features a 32 GB SD Card for time lapse and event recording, movement detection as well as an LTE SIM slot. As you will see in a subsequent post, the images are pretty good. I'm real happy with this unit and chose this over the more expensive brother the Go PT Plus to save some money. 

As you can see, the cameras are mounted on a 4x4 post strapped onto the well casing with superstrut. While not totally theft proof, it should deter dirtbags enough to slow them down while I'm being alerted to the motion. 

BardoCams 20211107_120936.jpg, Nov 2021
BardoCams Closeup 20211107_120936.jpg, Nov 2021


Sunday, October 31 2021

Exterior Lumber

Exterior Lumber, Oct 2021
Exterior Lumber

We ordered all the exterior framing lumber for the barndo a few weeks ago while lumber prices were low-ish. The price was nearly 40% less than when we were originally quoted. Why framing lumber on a barndo? This construction relies on the steel trusses and sheeting for a majority of the build, but uses wood girts and purlins for the remainder. 

There are lots of advantages to this technique. Since the interior will be framed anyway, the 2x6 purlins and girts will contain the insulation we need to have. The ceiling will have 6" of closed cell foam for R40, and the sides about 2" of closed cell foam followed by standard fiberglass bat insulation. The wood also creates a thermal break for the external steel sheet metal that will not as readily transfer cold to the framing, thus reducing the chance for condensation. 

There are disadvantages to this construction, in that the lumber must be straight and not curved, where metal purlins and girts are not prone to curving. 

Grubbing the Ground

Grubbing the Ground, Oct 2021
Grubbing the Ground

It looks like the grubbing has been completed on the entire area that the excavation and slab will be laid. The plants and roots in this area have been removed to create organic material free soil for the next step of construction - excavation. Excavation will be done by the cut and fill method. The pad area is at the center of the excavation, and a large uphill from the pad will be cut by a tractor, and filled below the pad to create a level surface for the pad itself.

- page 3 of 4 -

Page top